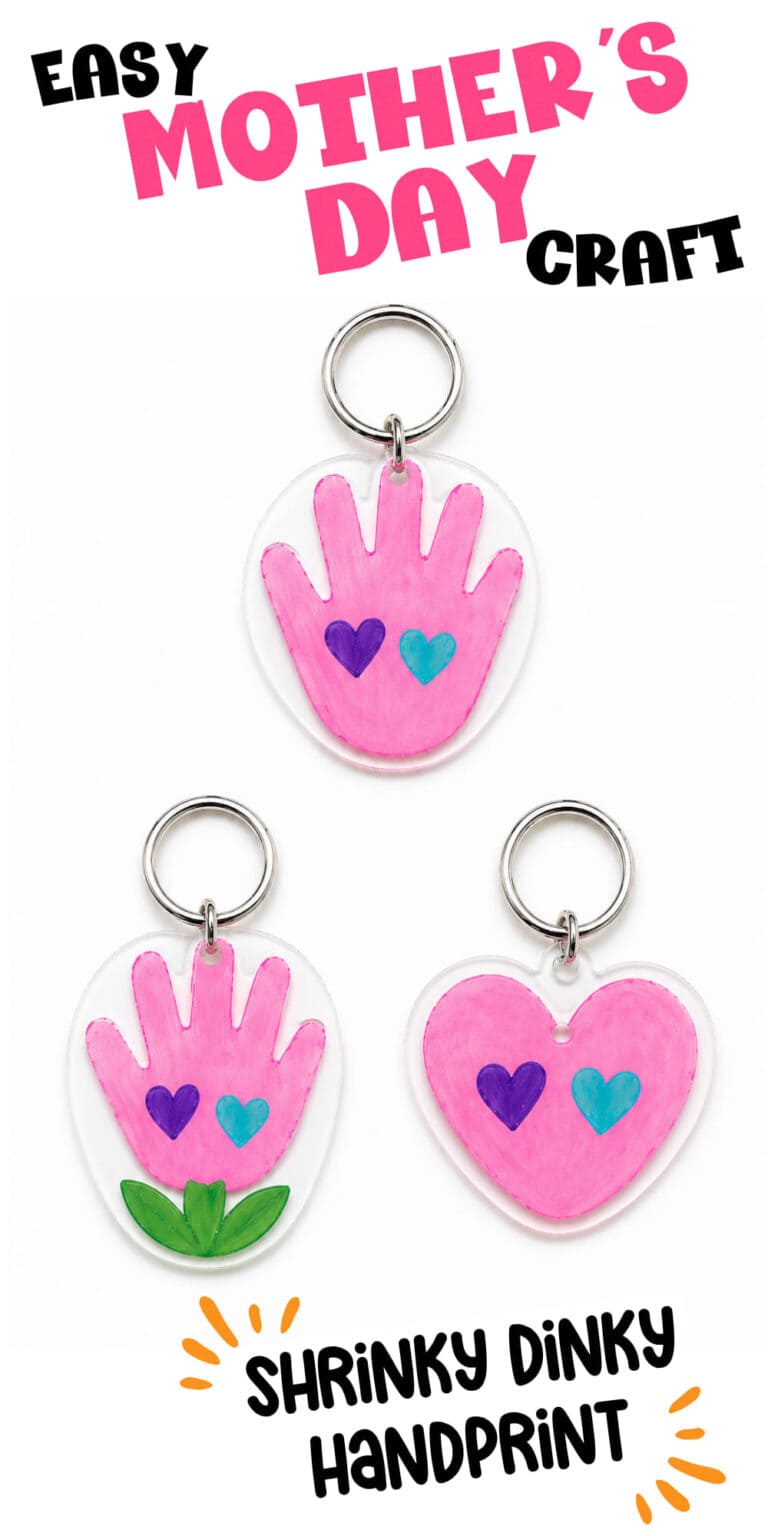
Mother’s Day crafts always feel a little more special, and this one is one I keep coming back to.
It is such a cute way to save your child’s handprint while they are still little.
Those tiny fingers change so fast, and having something you can hold onto just hits differently when you look back later.
I like crafts that feel meaningful but still easy to pull together on a busy day.
Between snacks, school pickup, and everything else, I don’t have time for complicated setups.
This one is simple, a little fun to watch, and the end result actually feels like a keepsake instead of something that ends up in a pile.
In this post, I’ll walk you through what you need, how to make it step by step, and a few easy ways to customize it so it feels even more personal.
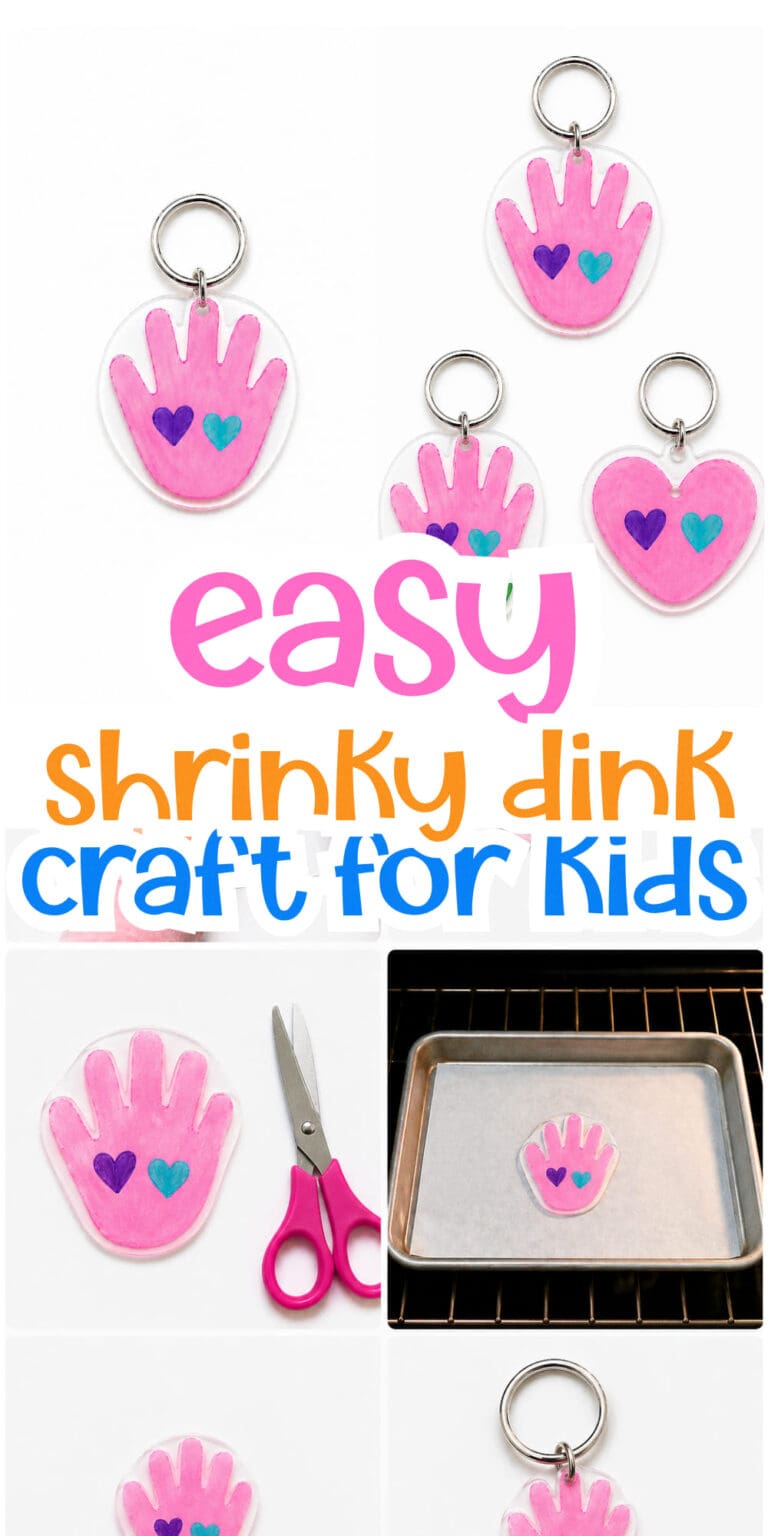
What You Need to Make This Craft
- Shrinky Dink plastic sheets (clear or frosted)
- Permanent markers
- Pencil
- Scissors
- Hole punch
- Baking sheet
- Parchment paper
- Oven
- Keychain ring, ribbon, or string (optional)
Everything here is pretty simple. If you’ve done any basic crafts before, you probably already have most of this at home. The only must-have is the Shrinky Dink plastic, since that’s what gives the craft its “magic” moment.
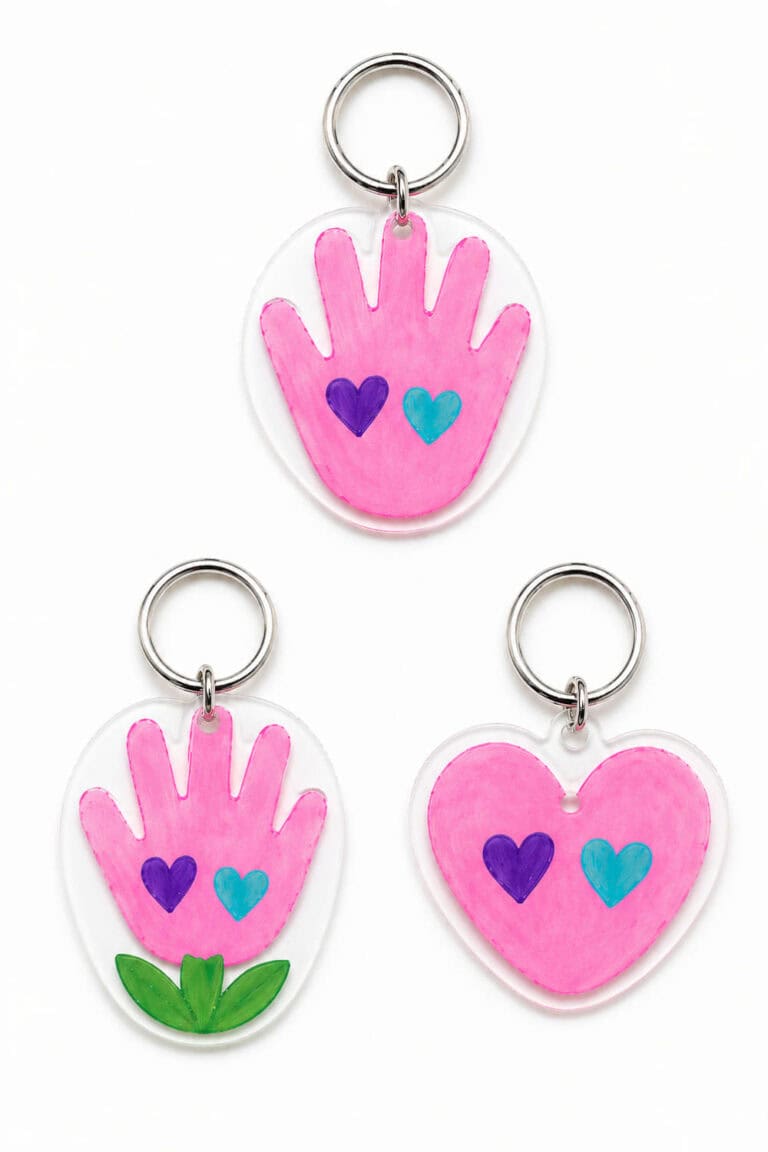
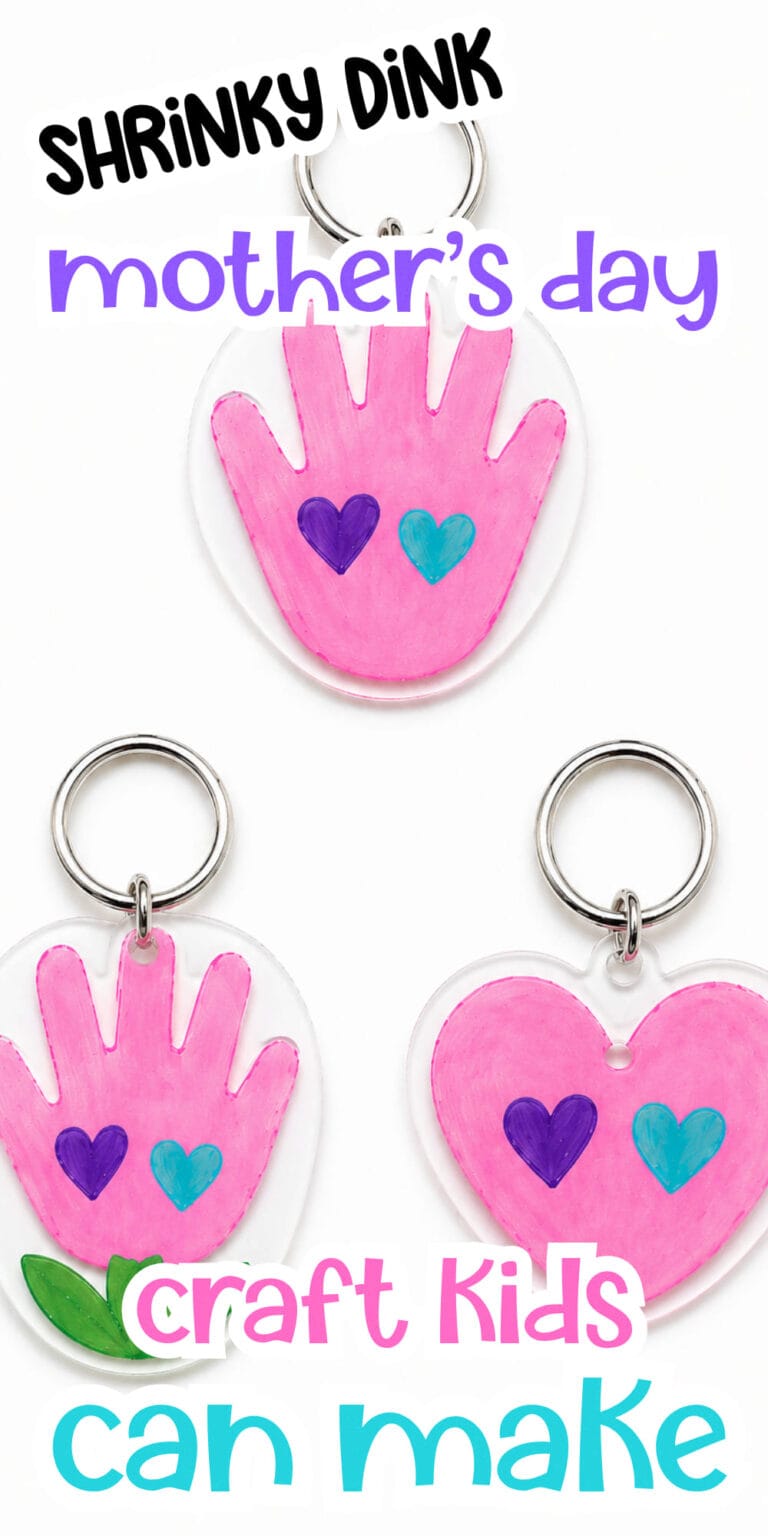
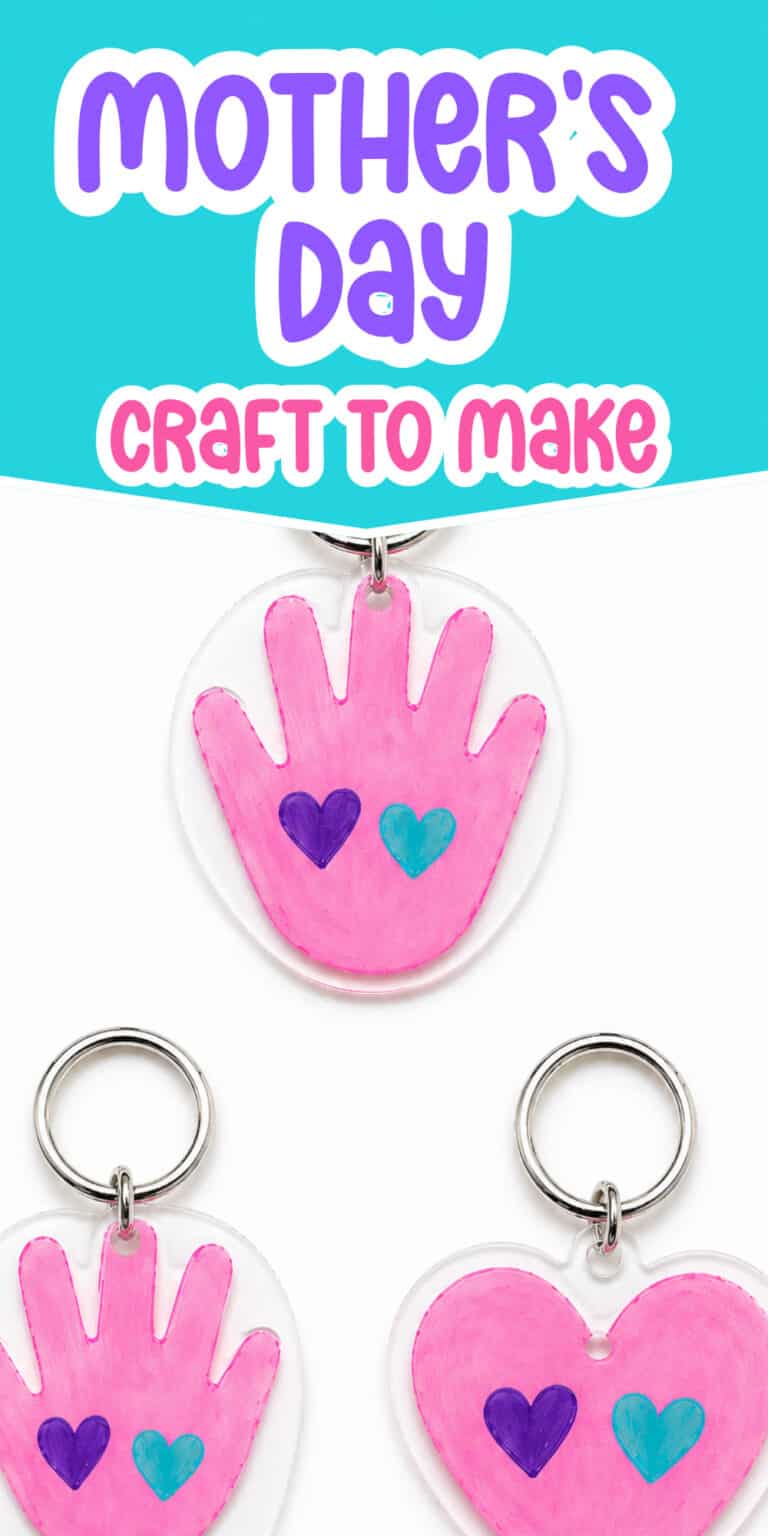
Shrinky Dink Handprint Mother’s Day Craft
This is one of those crafts that feels a little magical the first time you make it.
Watching the handprint shrink down in the oven never gets old, and kids usually get really excited seeing it change shape right in front of them.
If you want to do this for a Mother’s Day craft, here are the step-by-step instructions to help you!
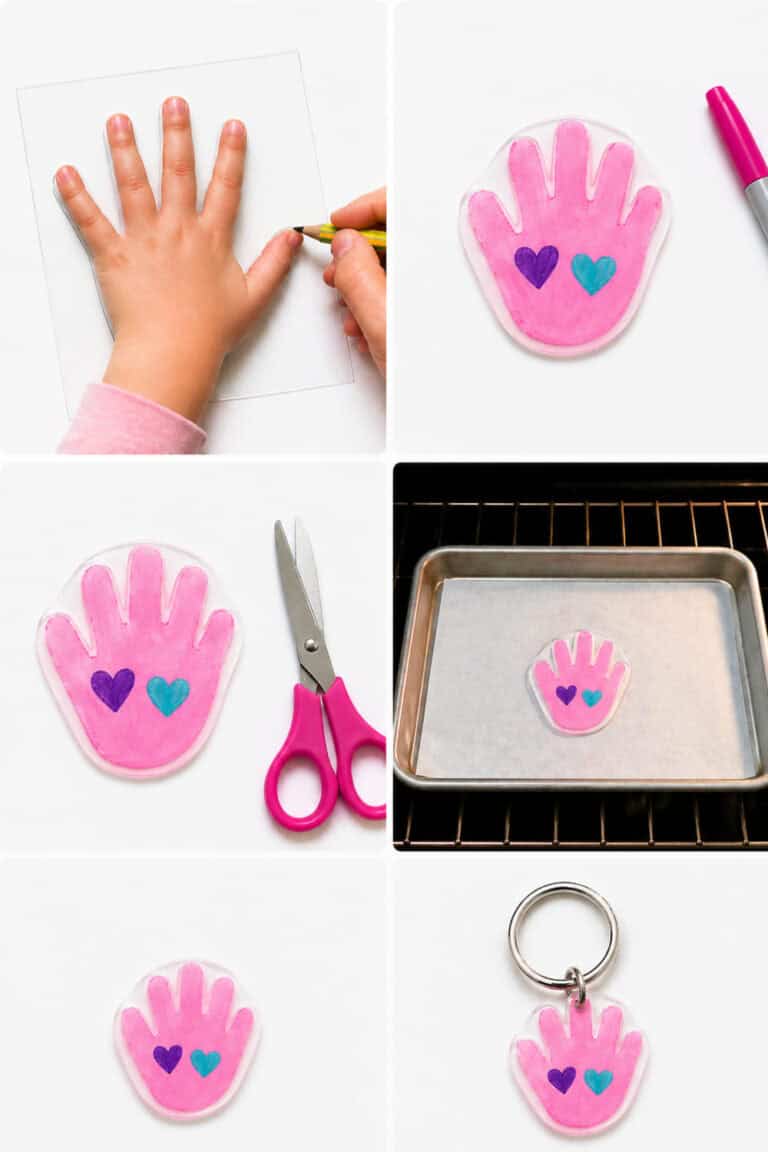
Step 1: Trace the Hand
Place your child’s hand flat on the Shrinky Dink sheet and gently press it down so it stays still.
Use a pencil to trace around the hand slowly, going finger by finger so you don’t miss any curves.
Keeping the fingers slightly spread helps the final shape look cleaner and easier to cut out later.
Step 2: Add Details
Go over the pencil lines with a permanent marker so the outline stands out.
This is also where you can make it personal.
Add your child’s name, the date, or a tiny heart near the palm. You can even let your child draw small doodles if they want to help decorate.
You can also use paint but make sure it dries completely before cutting it out.
Step 3: Cut It Out
Carefully cut around the handprint shape using scissors.
Take your time here so the edges stay smooth and not jagged.
If you want to turn this into a keychain or hanging piece, use a hole punch near the top of the hand before baking. This step is easy to forget, so it’s good to do it now.
Step 4: Bake the Handprint
Preheat your oven according to the Shrinky Dink package instructions, usually around 325°F.
Place the handprint on a baking sheet lined with parchment paper.
As it bakes, you’ll see it curl up, shrink, and then flatten back out. This usually takes just a few minutes. Once it flattens, it’s ready to come out.
Step 5: Let It Cool
Carefully remove the tray from the oven and let the handprint cool for a few minutes.
As it cools, it will harden and become thicker and more durable.
You’ll notice how much smaller it gets, which is what makes this craft feel so special.
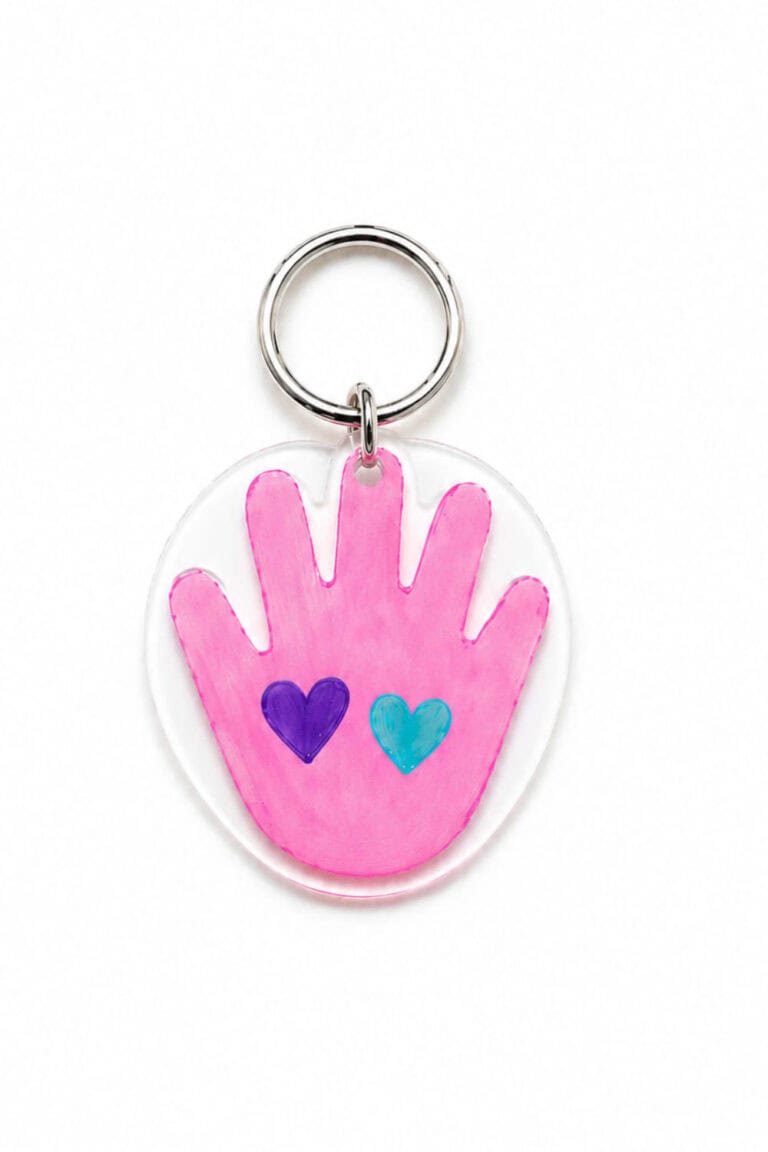
Step 6: Turn It Into a Keepsake
Once it’s fully cooled, you can leave it as is or turn it into something you’ll use every day.
Attach a keychain ring, tie a ribbon through the hole, or glue it onto a card. Some moms even keep it in a memory box or display it on a shelf.
Why You’ll Love This Craft
This craft is simple, but it holds a lot of meaning. It captures your child’s hand at this exact moment, and that is something you can’t recreate later.
It also works for different ages. Younger kids can help decorate and choose colors, while older kids can take more ownership of tracing and cutting.
And the best part is how quick it is. You can make this in one afternoon without a big setup, and still end up with something that feels really thoughtful.
Variations You Can Try
1. Add Color Inside the Hand
If your kids love color, let them fill in the handprint before baking.
Bright colors make the finished piece stand out more and feel playful.
2. Turn It Into a Necklace
Instead of a keychain, use string or a small chain.
This turns it into something wearable and extra special.
3. Make a Double Handprint
Trace both hands side by side or slightly overlapping.
This creates a fuller design and works well as a display piece
4. Add a Thumbprint Heart
Use a thumbprint to create a small heart detail inside the hand.
It adds a sweet, personal touch that moms always notice.
Mother’s Day Craft Idea for You!
This Shrinky Dink handprint Mother’s Day craft is one of those ideas that feels simple but ends up meaning so much more. It doesn’t take a lot of time, and it doesn’t require a big setup, but it gives you something you’ll want to keep.
And honestly, those are always the best kinds of crafts.

Leave a Reply