Mother’s Day crafts always feel extra meaningful, but this one really gets me every time.

There is just something about those tiny fingerprints that makes you pause.
I still find myself holding onto old crafts and noticing how small those little fingers used to be.
It goes by so fast, and this is one of those simple ways to hold onto a piece of it.
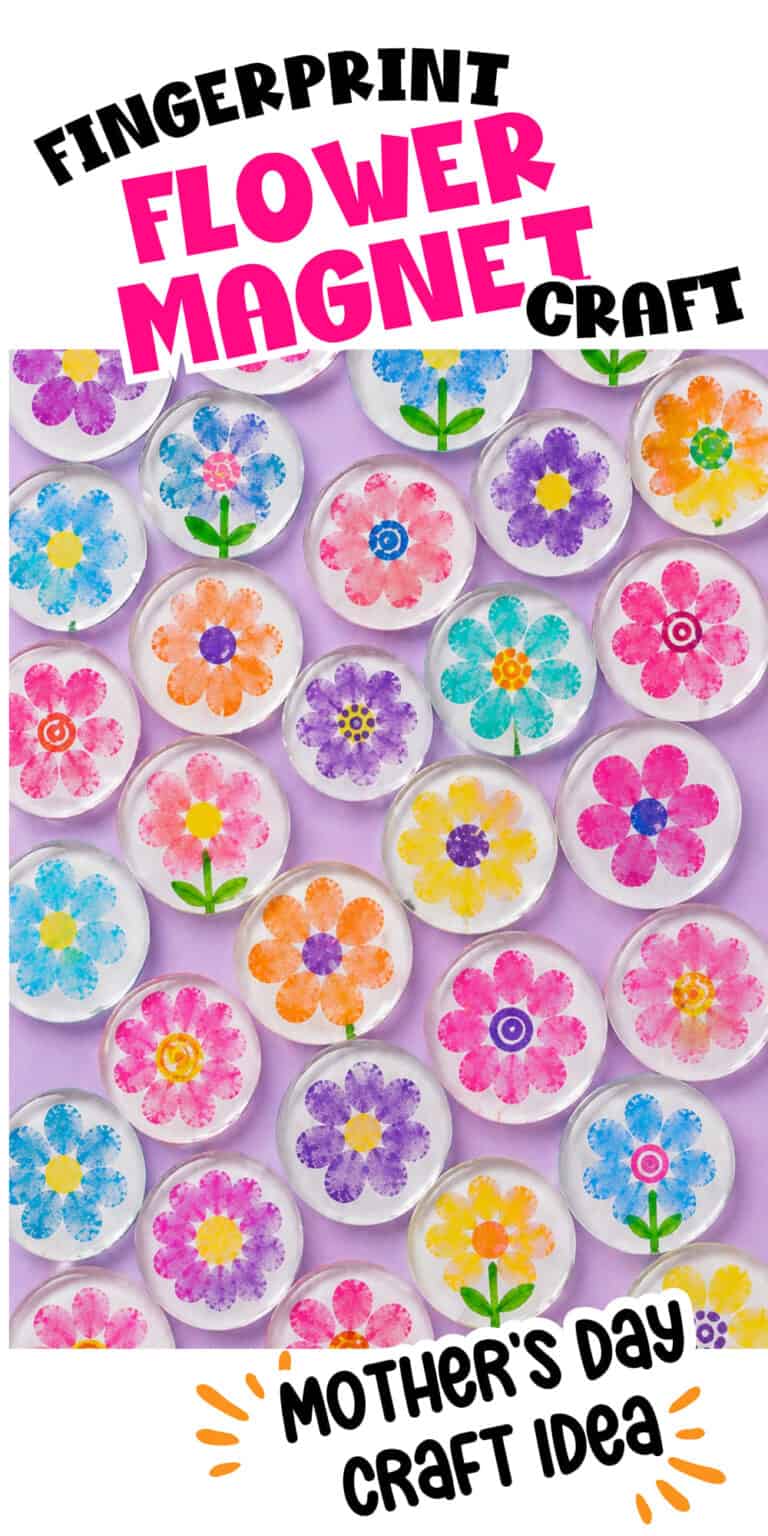
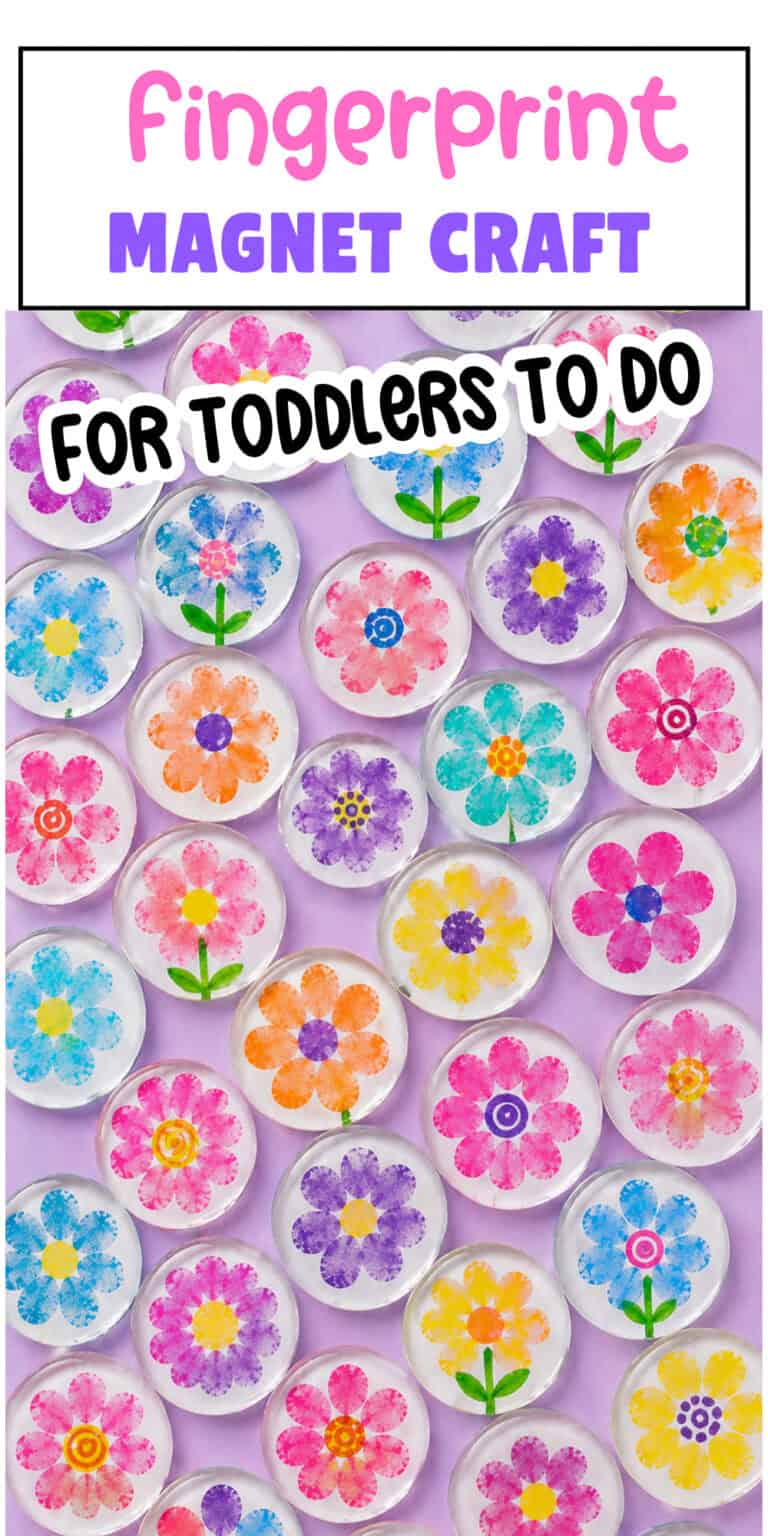
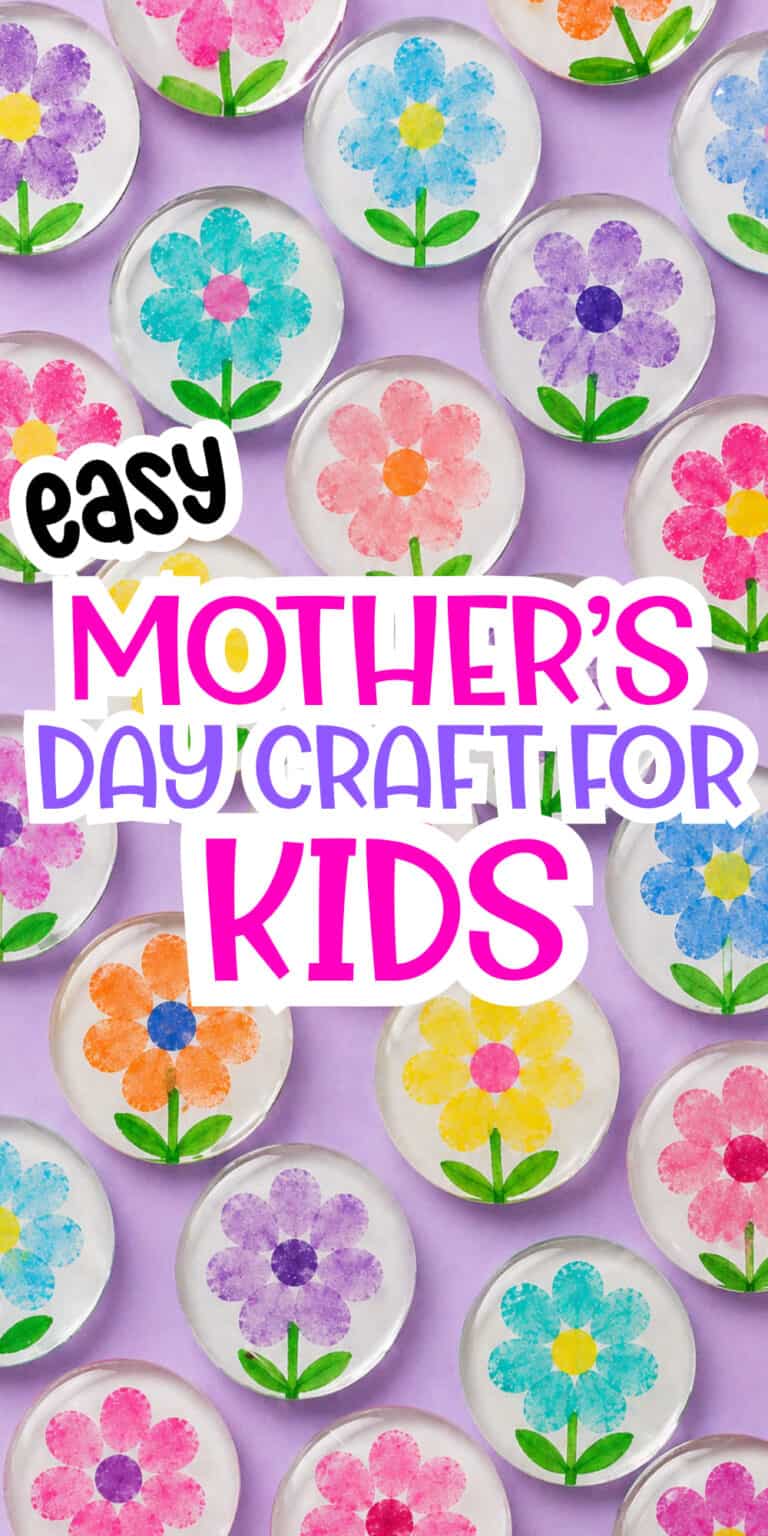
That is why I love this fingerprint flower magnet.
I also love how easy this one is to pull together. No big mess, no complicated setup, and it keeps kids engaged the whole time.
It feels calm, creative, and the finished magnets look so cute and polished.
In this post, I’ll walk you through everything you need, how to make it step by step, and why this works so well for toddlers, preschoolers, and younger kids.
What You Need to Make This Craft
- Flat glass gems or clear glass cabochons
- Ink pads (washable and kid-friendly)
- White cardstock or thick paper
- Black marker (and other colors)
- Scissors
- Strong craft glue or clear-drying glue
- Magnets
Using ink pads instead of paint makes a big difference here. It keeps things cleaner, which I always appreciate.
There is no dripping or smearing, and the fingerprints come out crisp and easy to see. It also dries faster, which helps move things along when kids are involved.
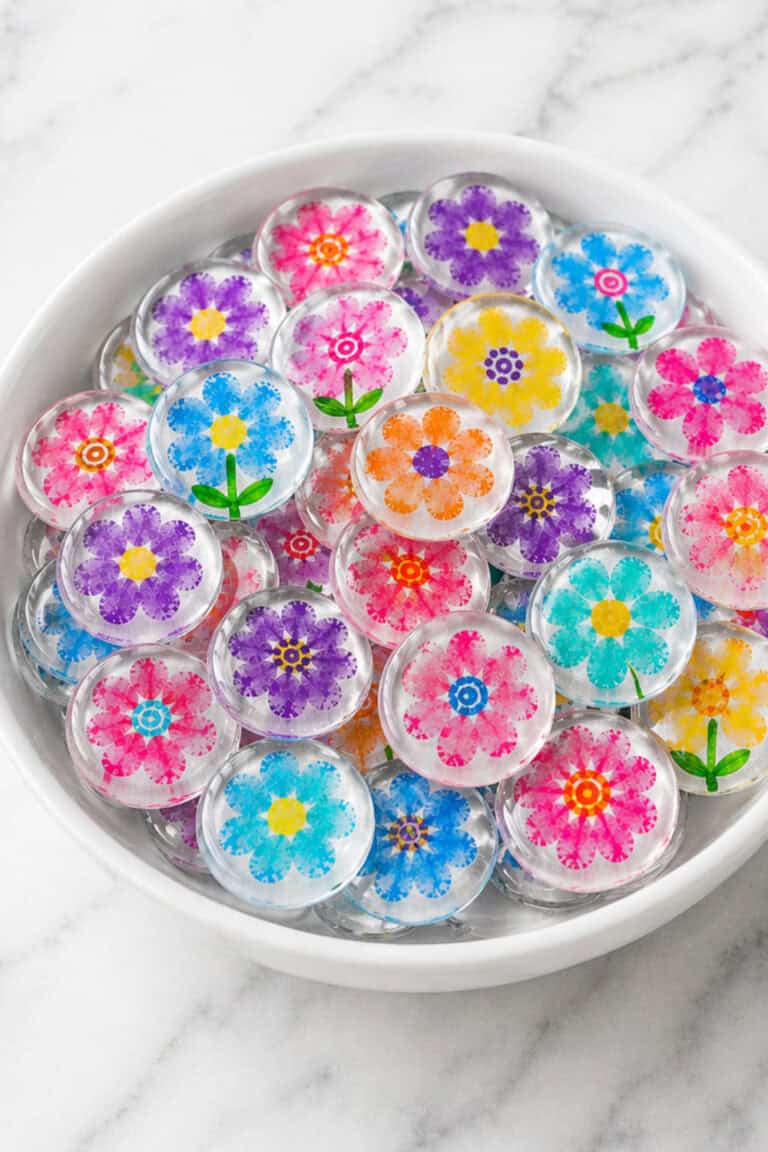
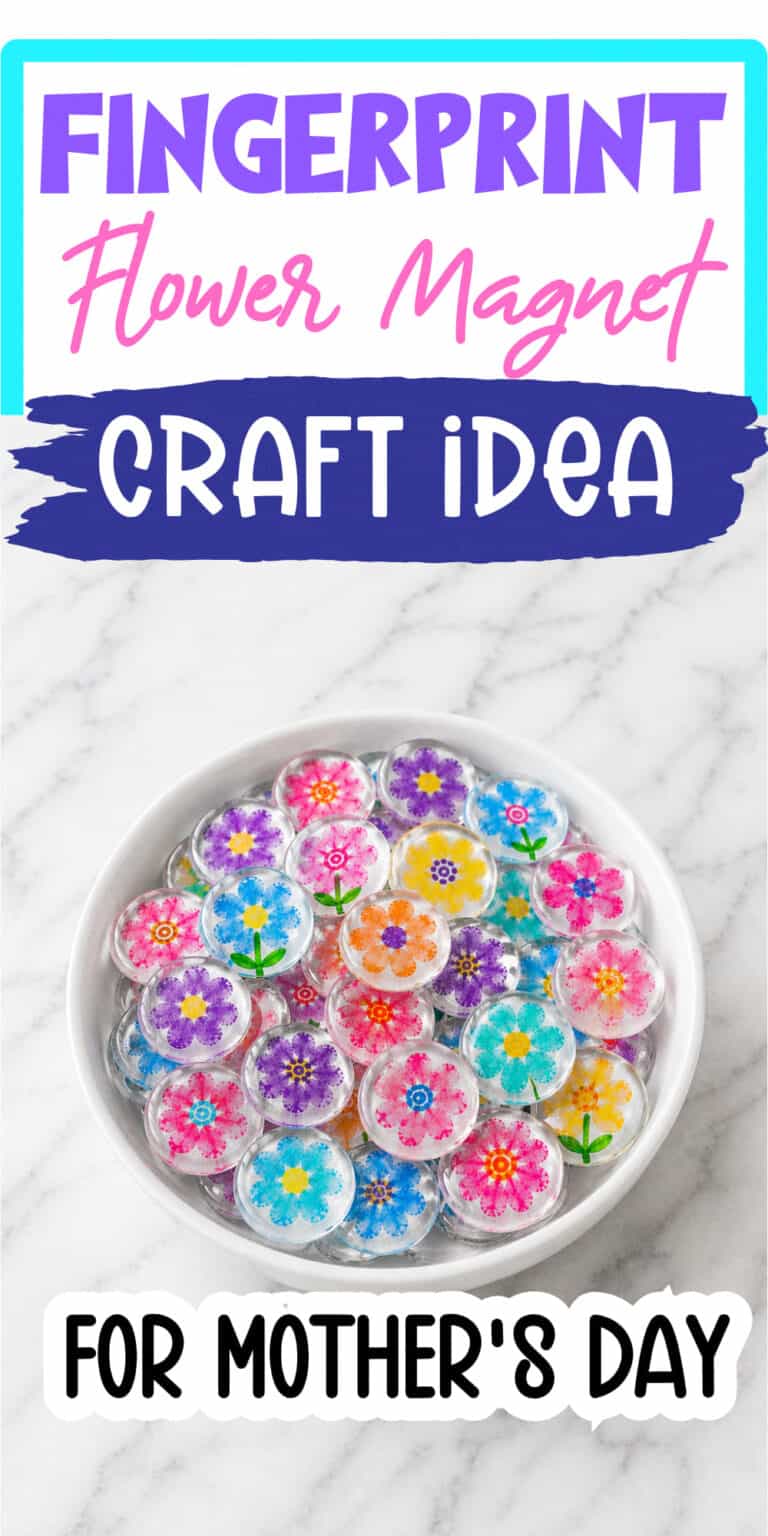
The glass gems give the finished piece that smooth, slightly shiny look that makes it feel more like a keepsake than just a paper craft.
DIY Fingerprint Flower Magnet Mother’s Day Craft
This is one of those crafts that looks a little more detailed than it actually is. Once you do one, the rest come together quickly, which is always a win.
Step-by-Step Instructions
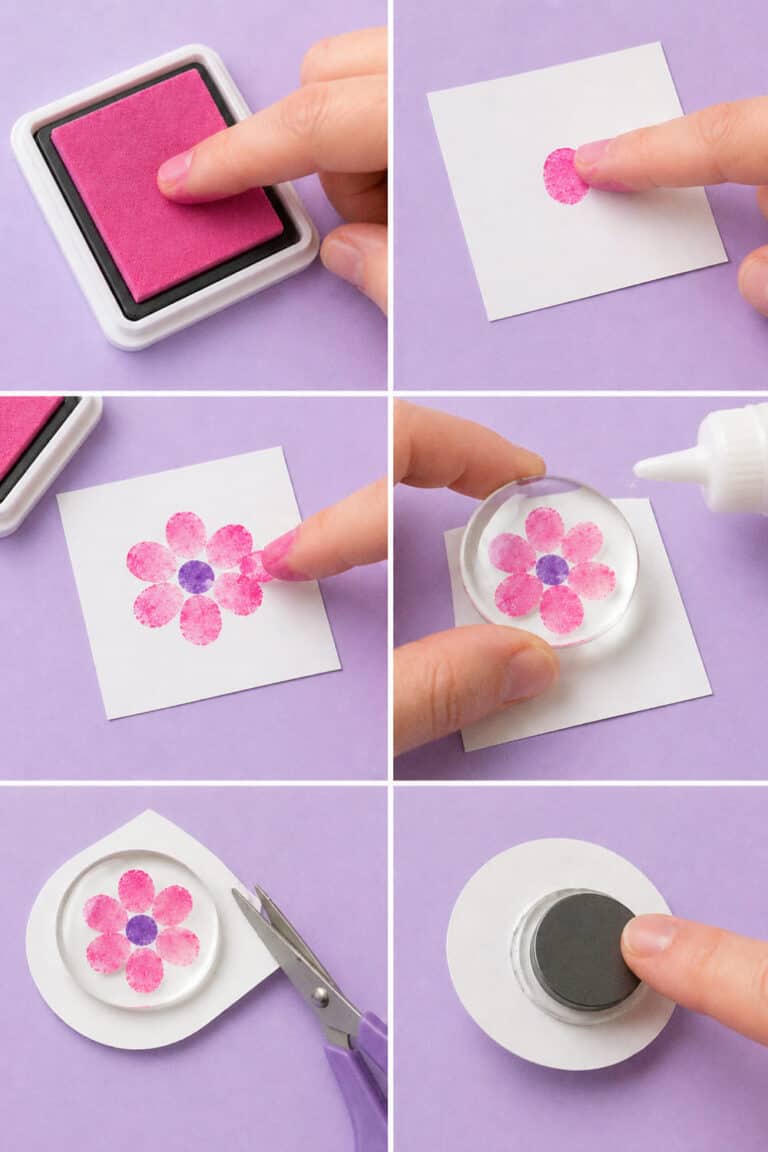
Step 1: Add the Flower Petals
Choose another ink pad color or paint color.
Press a different fingertip into the ink or paint, then press it around the center fingerprint. Keep going in a circle until you have four to seven petals.
Step 2: Make the Flower Center
Use a black marker or colored marker to make the center. You can also use the inkpad or paint. Have fun with it and make variations like swirls.
You can do this step first or put the center after you make the petals for more creativity.
Step 3: Let the Flower Dry
Set the fingerprint flower artwork aside and let it dry completely.
This part matters because wet ink or paint can smear when you move on to the next step. Once it is dry, the flower will stay clean and cute for the rest of the craft.
Step 4: Attach the Glass Gem
Add a small drop of clear-drying glue onto the flat side of the glass gem.
Flip it over and press it down onto the fingerprint flower. Press gently but firmly so it sticks and any air bubbles are removed.
Make sure your flower is completely dry before this step. If it is still wet, the design can smear.
Step 5: Let It Dry
Set the piece aside and let the glue dry fully.
Overnight works best if you have the time, but you can move on sooner if the glue feels set and secure.
Step 6: Trim Around the Gem
Once everything is dry, carefully cut away the extra paper around the glass gem.
Use small scissors for better control. Follow the shape of the gem as closely as you can so it looks clean and neat.
Step 7: Add the Magnet
Flip the piece over and apply glue to the back of the glass gem.
Spread the glue around the edges so everything stays secure. Then press a small magnet onto the back.
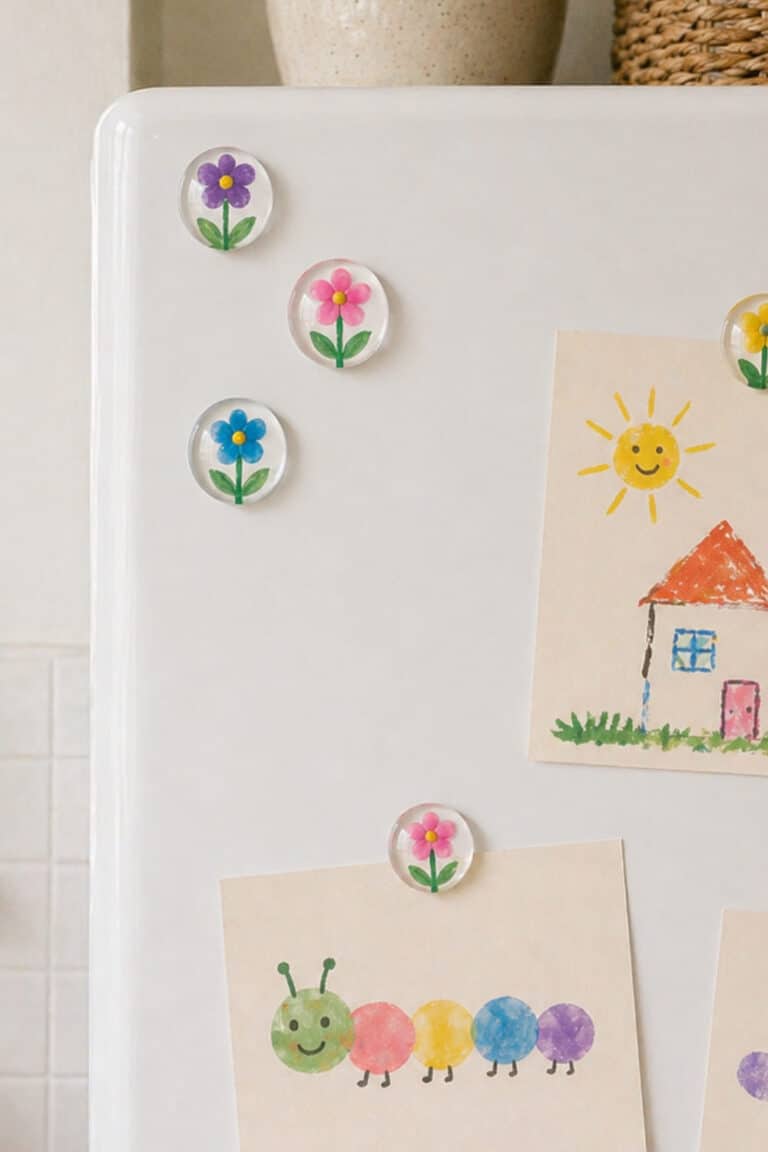
Let it dry completely before using it. Once it is dry, it is ready to go right onto the fridge.
Easy Variations You Can Try
If you want to switch things up a little or make a few different versions, there are so many easy ways to customize this craft without adding extra work.
- Make a Flower Set: Create a few magnets using different colors and arrange them together on your fridge. It looks really cute as a little collection.
- Use Multiple Colors: Let kids pick different ink colors for each petal. Mixing colors makes each flower look a little different and adds more personality.
- Add a Name or Date: Write your child’s name or the year on the back before attaching the magnet. It turns the craft into a memory you can look back on later.
- Try Heart-Shaped Petals: Press the finger slightly at an angle to create softer, heart-like shapes. This adds a fun twist and makes the flower feel more themed for Mother’s Day.
- Create a Mini Garden: Make several flowers and line them up like a small garden on a larger piece of cardstock before adding magnets. This works well if you want one larger piece instead of individual magnets.
Why This Is a Great Craft for Toddlers and Kids
This craft works so well for little kids because it focuses on something they already love doing. Pressing their fingers into ink and seeing the print show up never gets old.
Toddlers can focus on the simple action of pressing and lifting their finger. That alone creates the petals, so they feel involved right away.
Preschoolers start to understand patterns, so they can place their fingerprints in a circle to form a flower. It gives them a small goal without being overwhelming.
Older kids can take it further by adding details, choosing color combinations, and helping with cutting and assembling.
It is also quick enough to finish in one sitting. That makes a big difference on busy days when attention spans are short and you still want to do something meaningful.
Easy Toddler Mother’s Day Craft
This DIY fingerprint flower magnet is one of those crafts that feels simple while you are making it, but ends up meaning so much more later. It captures a tiny detail that changes so quickly, and turns it into something you can keep.
And honestly, those are always the crafts that end up being the most special.

Leave a Reply