When my twins were little, we had this ever-growing bucket of old, broken crayons, those stubby little pieces that were too short for their small hands to grip.
They’d always dig past them for the newer crayons, leaving the broken ones untouched at the bottom.
One afternoon, while picking up another round of crayon bits off the floor, I thought, Why not melt them down and make our own crayons?
It felt like the perfect way to reuse what we already had, and it turned into one of our favorite DIY crafts.
They had so much fun sorting the colors, mixing pieces, and helping me fill up the silicone molds.
Watching the crayons melt and transform into brand-new, colorful shapes felt a little bit magical, especially for little ones.
Not only did it make coloring more exciting, but it also gave us a sweet little project to do together on a slow or rainy afternoon.
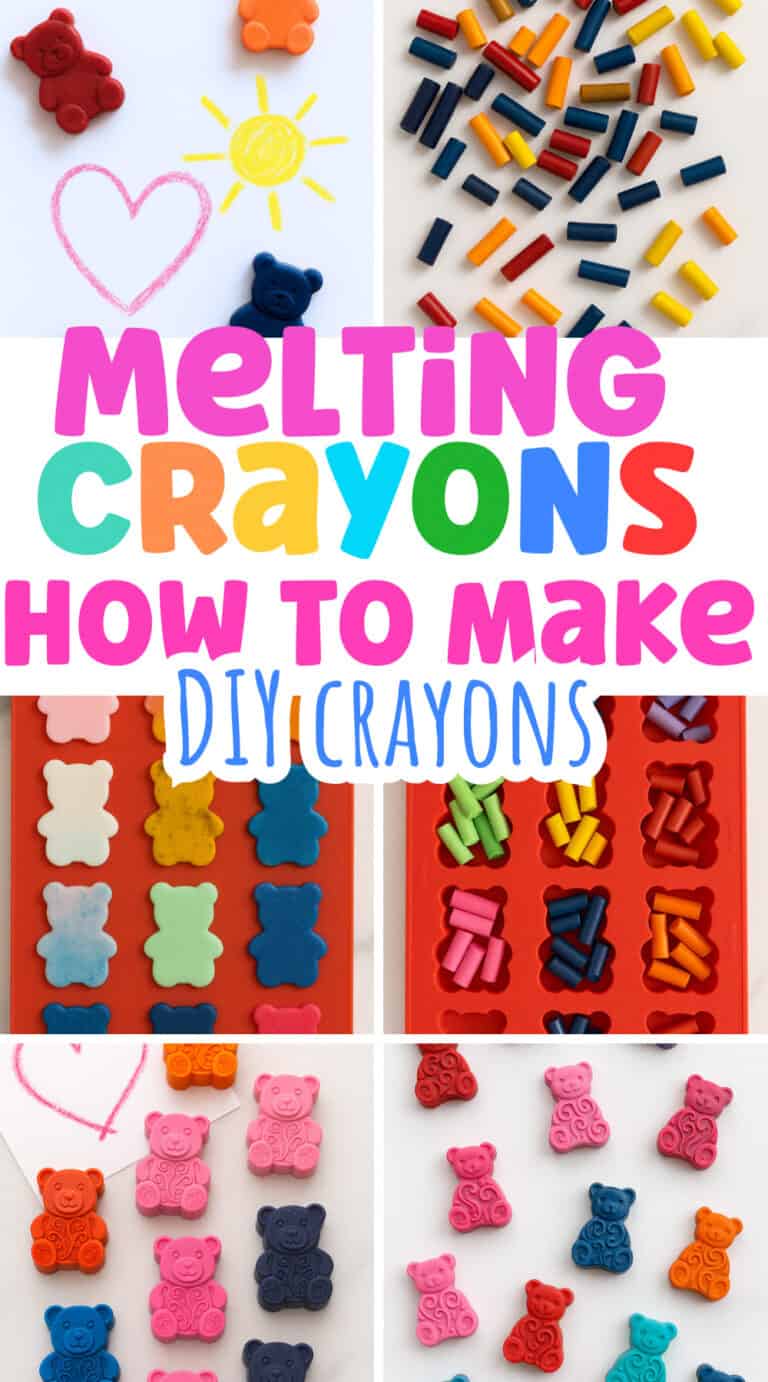
If you’ve got a stash of broken crayons lying around, this DIY melted crayon activity is such a fun way to recycle, get creative, and make something your kids will actually want to use.
Melting Crayons: Prepare Your Crayons
Before you start melting crayons, you’ll need to prep your supplies, and this part is a great fine motor activity for preschoolers and young kids to help with.
Have them peel the wrappers off the crayons (which is oddly satisfying!) and then break the crayons into smaller pieces.
Sorting the colors into piles is another great hands-on task that helps build focus and coordination.
Letting your child help with the prep makes them feel involved from the start, and it’s a simple, mess-friendly way to turn cleanup crayons into something brand new and fun!
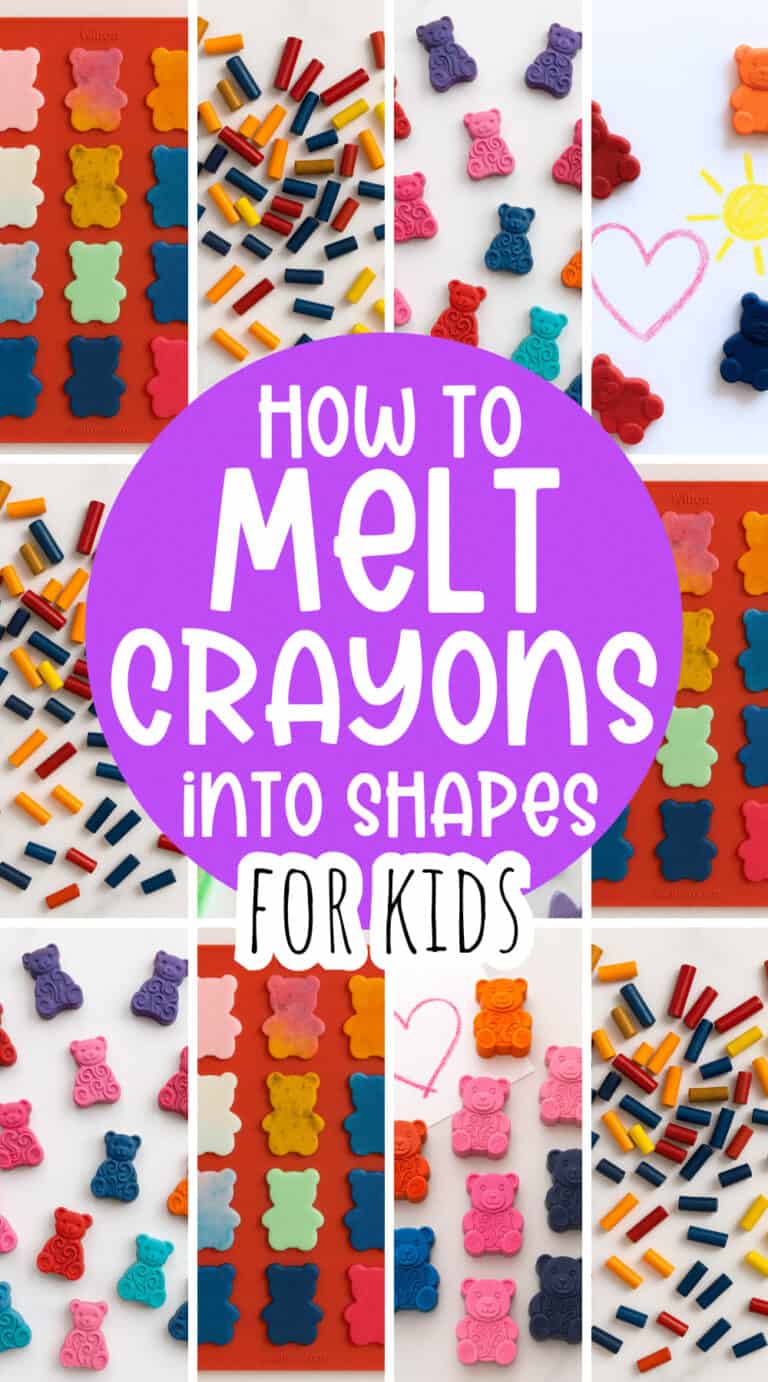
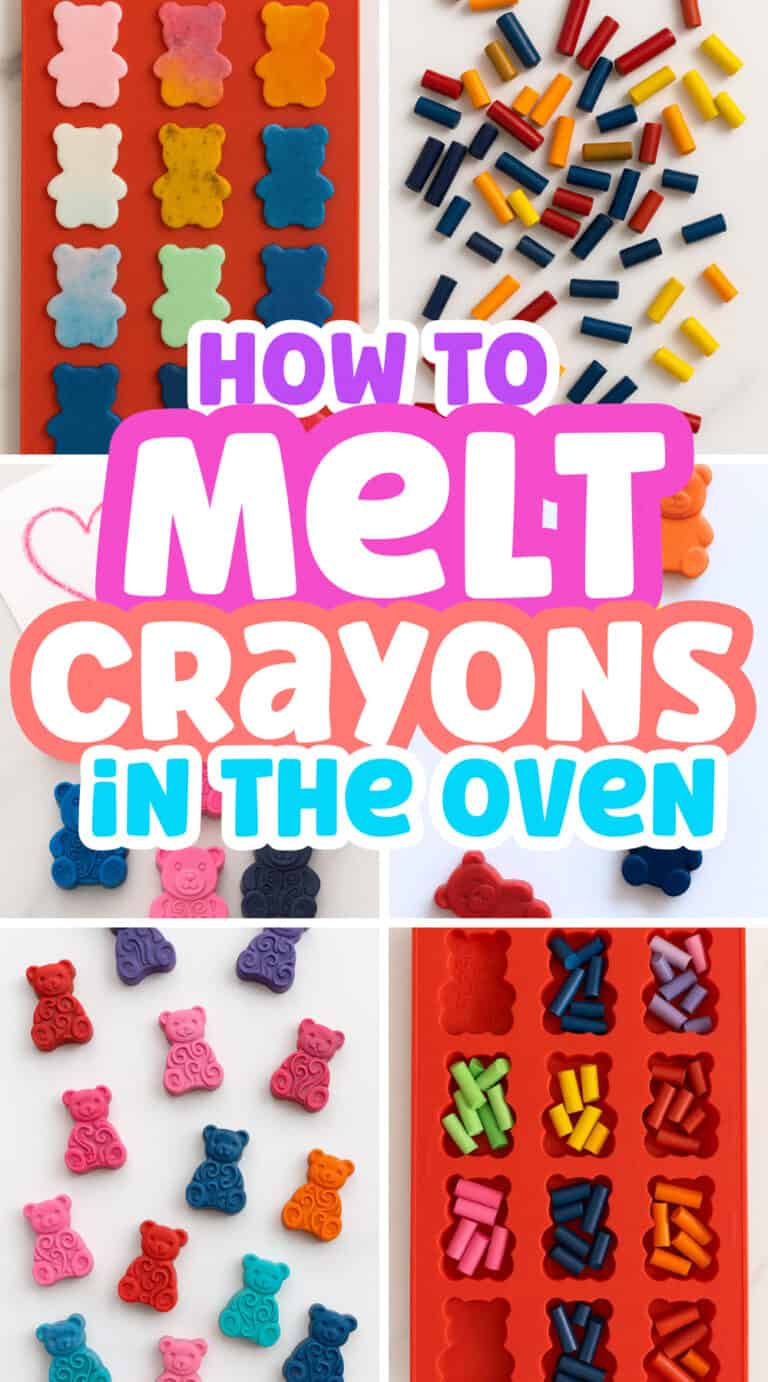
How to Melt Crayons in the Oven
Melting crayons in the oven is such a fun and easy way to recycle all those broken crayon bits into new, colorful shapes your kids will love to use.
Here’s a detailed step-by-step guide to help you make your own DIY crayons with a silicone mold:
Step 1: Gather Your Supplies
You’ll need:
- Old or broken crayons (peel the wrappers)
- A silicone mold (fun shapes like stars, animals, or hearts work great)
- Baking sheet
- Oven
- Optional: a craft knife for stubborn wrappers, and bowls for sorting colors
Step 2: Peel and Break the Crayons
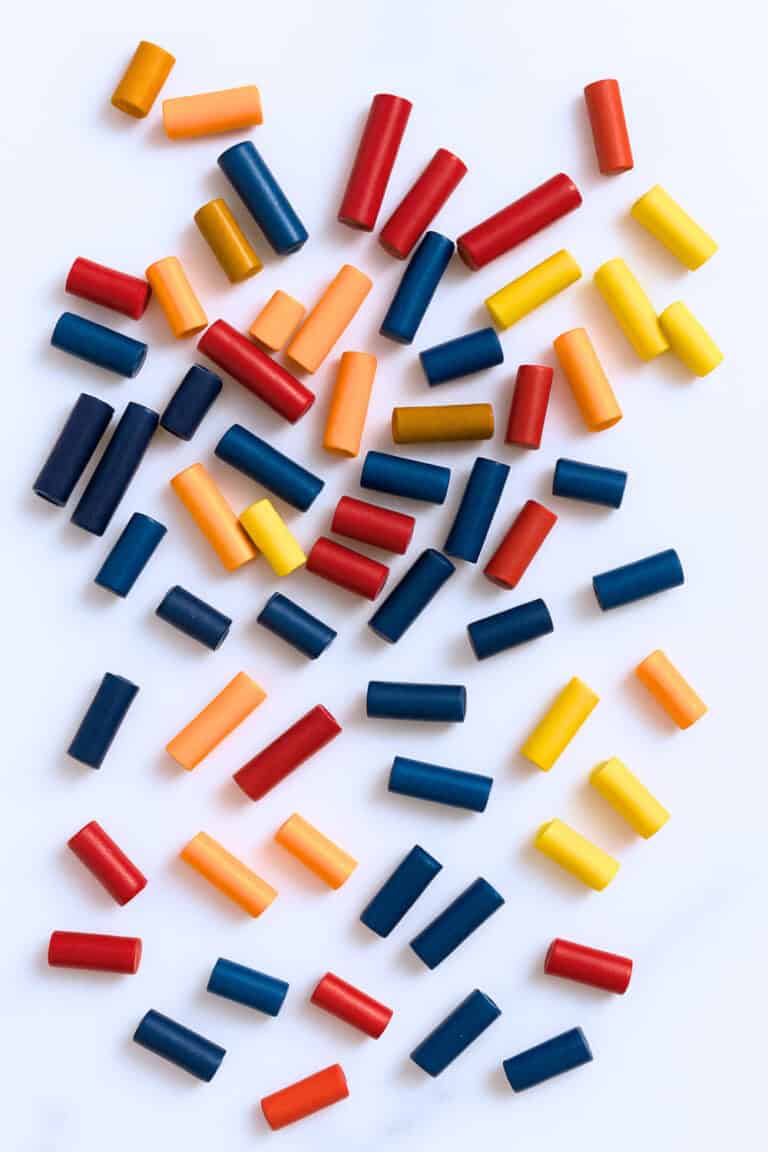
Peeling the wrappers is a great fine motor activity for kids, but if the wrappers are tough to remove, you can soak the crayons in warm water for 5–10 minutes to loosen them.
Once peeled, break the crayons into smaller pieces, about 1/2 inch or less.
The smaller the pieces, the faster and more evenly they’ll melt.
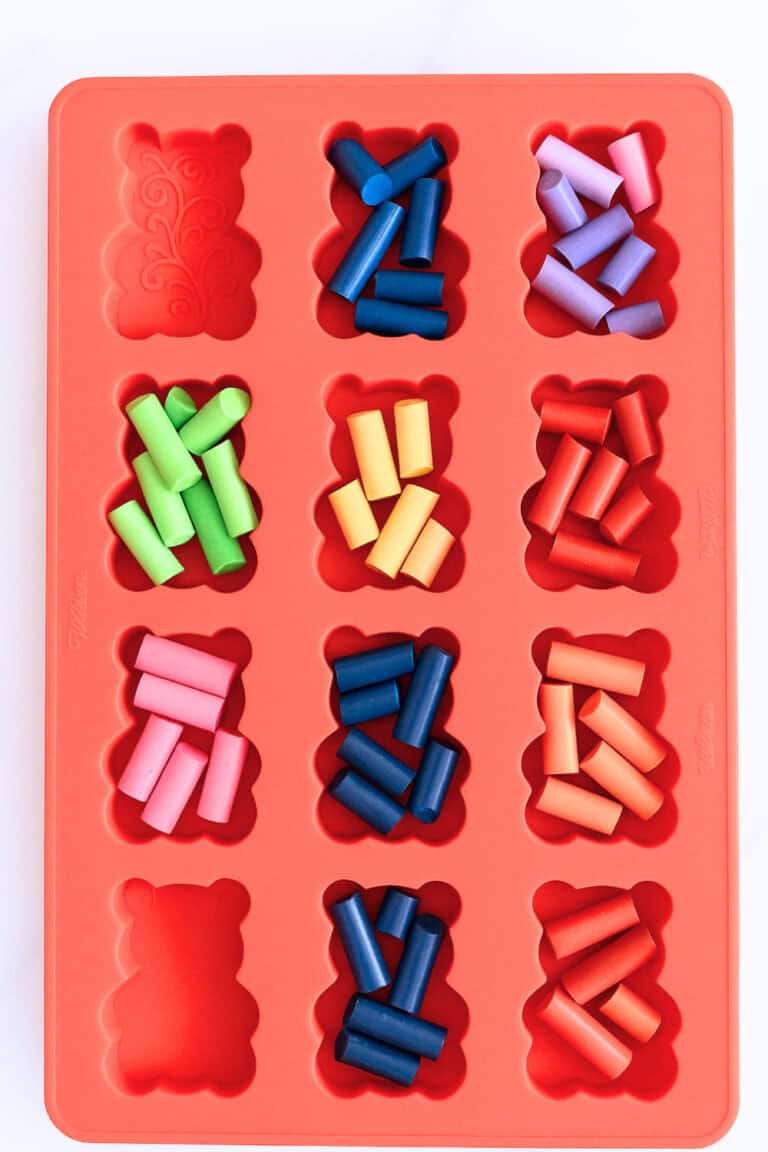
Step 3: Sort and Arrange
Let your child help sort the crayon pieces by color or mix them up for a swirled, rainbow effect.
Place the crayon pieces into each section of the silicone mold. Fill each shape to the top, as the crayons will shrink as they melt.
You can get creative here, try layering colors or mixing light and dark pieces for cool patterns.
Step 4: Preheat the Oven
Set your oven to 250°F (120°C).
This is the ideal temperature to melt crayons slowly without burning them or damaging your mold.
Place the silicone mold on a baking sheet to make it easier to move in and out of the oven.
Step 5: Bake
Place the baking sheet with the mold into the oven and bake for 10–15 minutes, depending on the size of the molds.
Keep a close eye on them, the crayons should be fully melted but not bubbling.
Once all the pieces are liquid and smooth on top, they’re ready to come out.
Step 6: Cool Completely
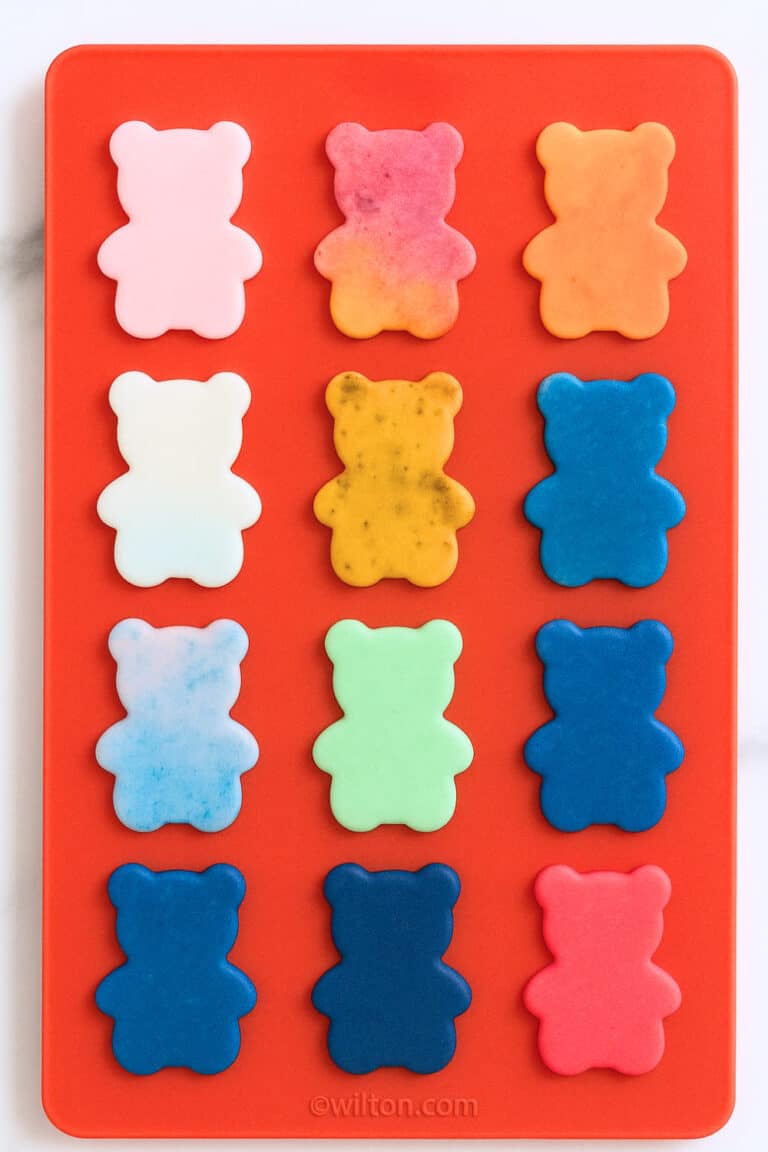
Remove the tray from the oven carefully and set it on a heat-safe surface. Let the crayons cool in the mold completely, which can take about 30–60 minutes.
For faster cooling, place the mold in the refrigerator after it has cooled down a bit at room temperature.
Step 7: Pop Out and Enjoy
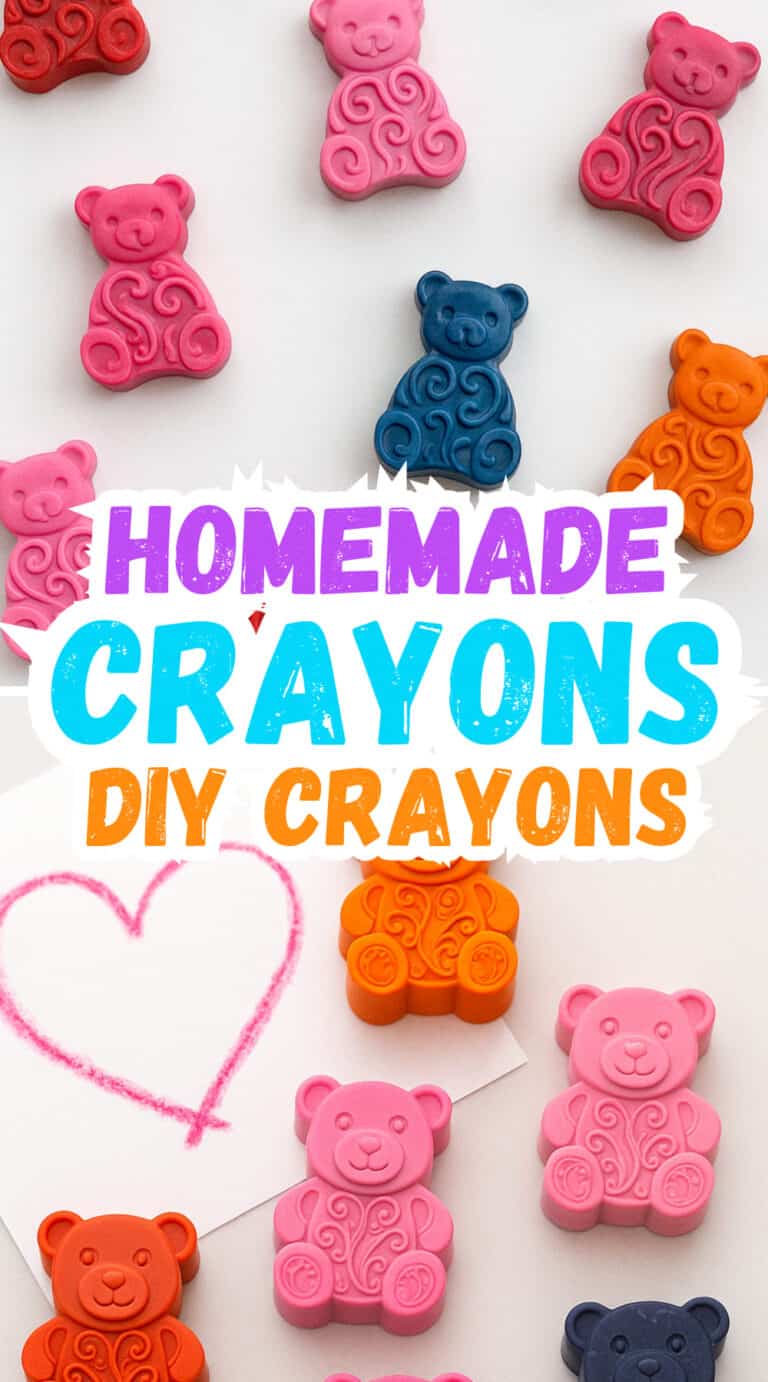
Once fully hardened, gently pop the crayons out of the silicone mold.
They should come out easily and be ready to use right away. If any edges are uneven, you can gently smooth them with your fingers.
Tips for Melting Your Crayons:
- Use molds dedicated to crafts, not the same ones you use for food.
- Make sure the mold is on a baking sheet before putting it in the oven—hot melted crayon can spill if the mold bends.
- Let kids help sort, break, and choose colors, but do the oven part yourself.
Now your DIY crayons are ready to go, perfect for coloring, party favors, or sweet handmade gifts for teachers, friends, or even Father’s Day!
Have Fun Making Crayons
I hope you try this simple and fun activity for your toddler or kid! It’s a great way to save money and recycle at the same time!
Leave a Reply