Okay, real talk. When I pulled out the supplies for this little yarn chick craft, my three tiny tornadoes went wild.
I’m talking full-on squeals, giggles, and that moment where one kid decided wrapping themselves in yarn was obviously the better plan than wrapping the cardboard.
Classic chaos, but honestly pretty adorable.
And the best part?
This craft is so easy, even on the days when my brain feels like scrambled eggs.
The kids stayed actually entertained — no whining, no wandering off, no “I don’t wanna do this anymore” — for a solid 20 minutes.
If you’re a mom, you know that’s basically a miracle.
This craft works perfectly for an Easter afternoon, a cozy rainy spring day, or any moment when you need a fun activity that doesn’t leave crumbs everywhere or require a whole tote of craft supplies.
Simple, cute, and totally kid-approved.
What You Need to Get Started
Before the kids start asking a million questions, here’s the little pile of supplies we used. Nothing fancy, I promise.
- A piece of cardboard (I just tore a chunk off an old delivery box)
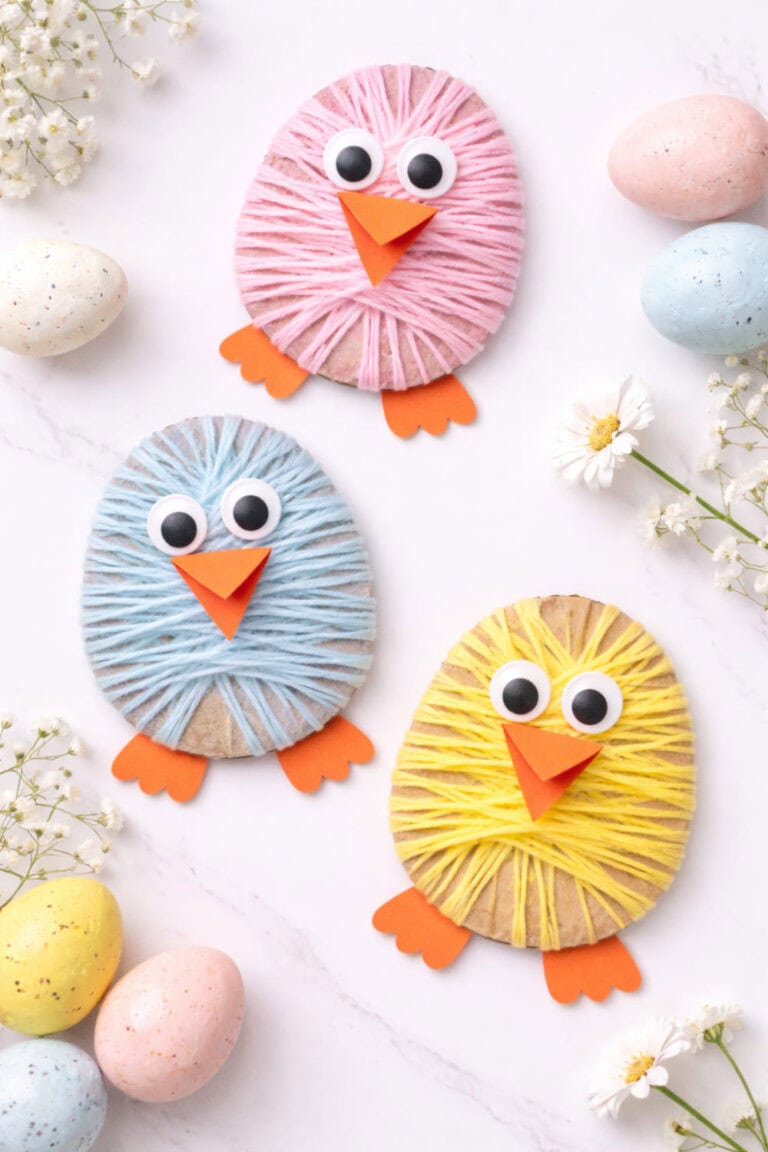
- Soft yellow yarn (or any color you have)
- A small sheet of orange cardstock
- Googly eyes (my kids immediately argued over who got the “cutest” ones)
- Scissors
- A hot glue gun for quick sticking, and yes, this part is for adults only
Super simple, super affordable, and most of this stuff is probably already hiding somewhere in your house.
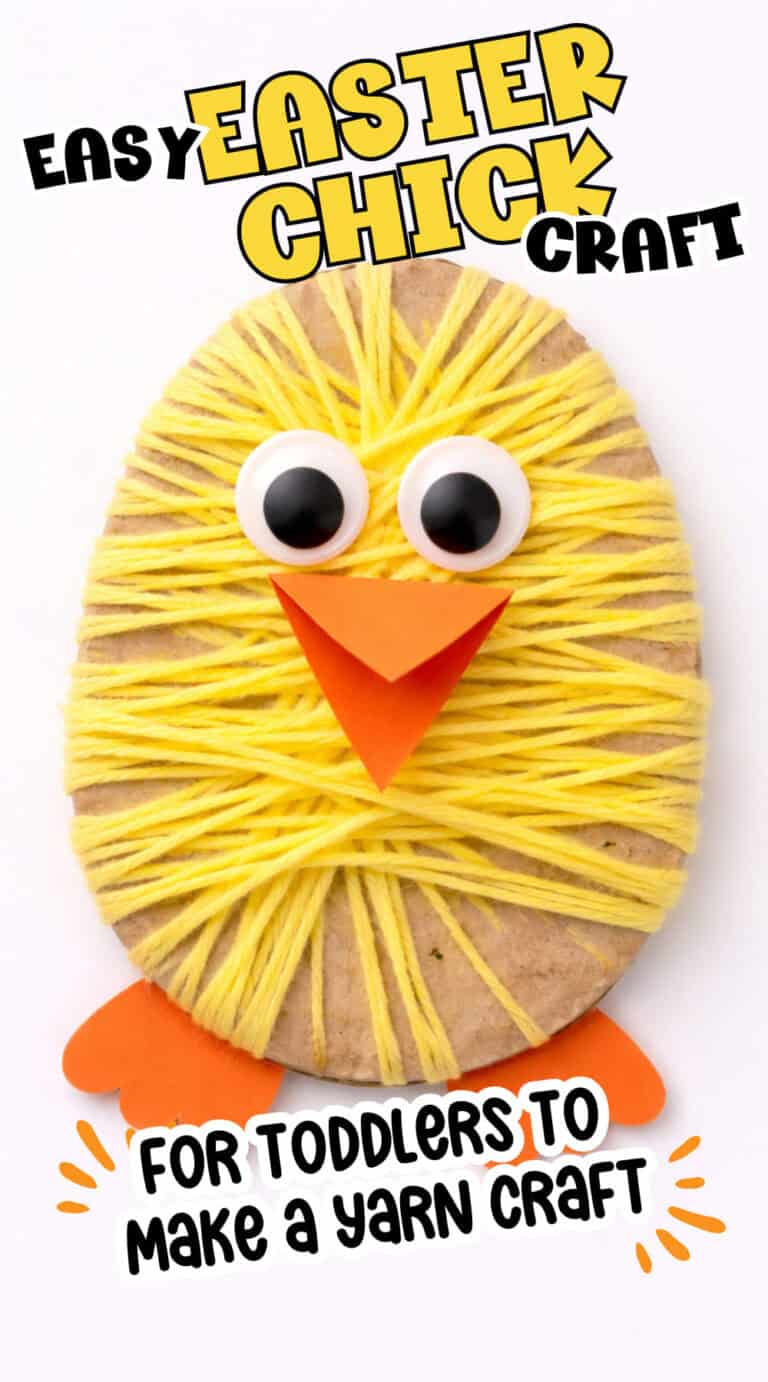
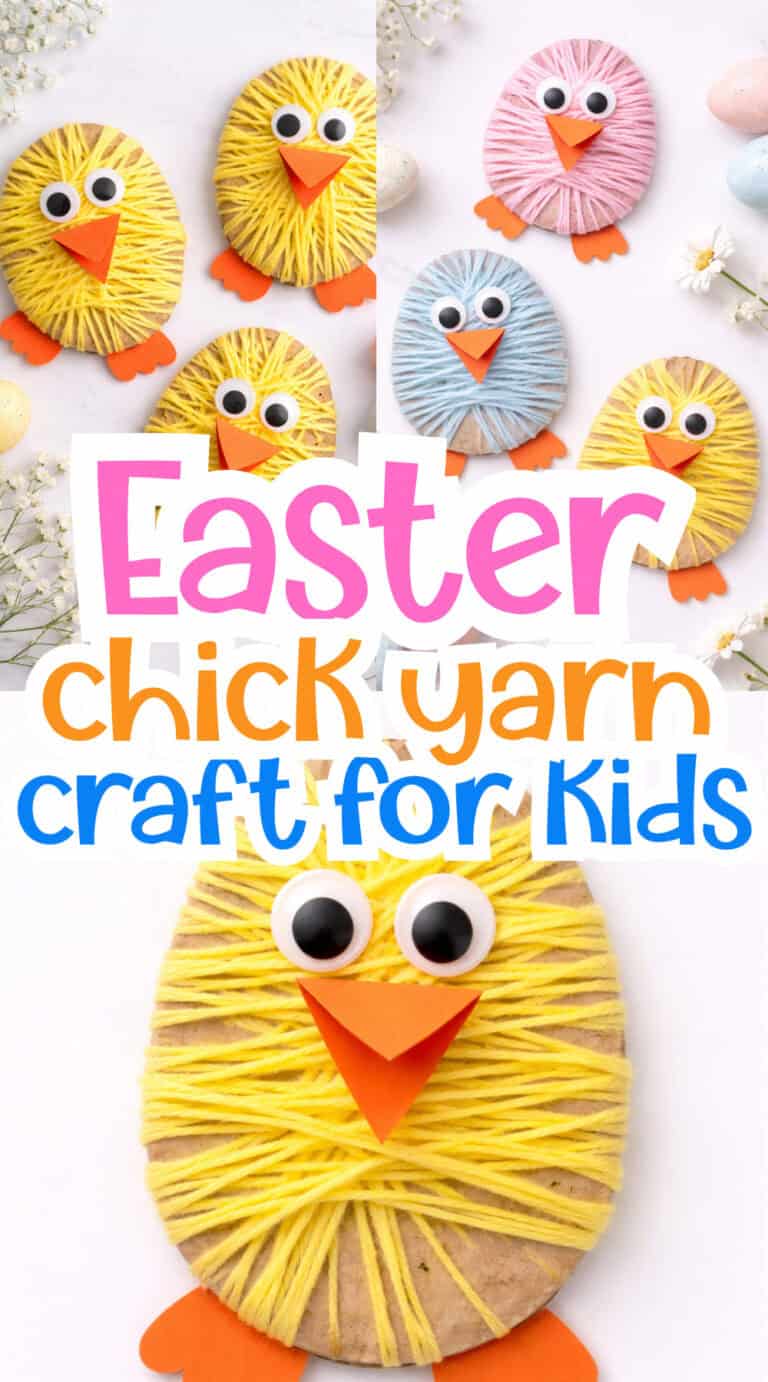
Step-by-Step: Let’s Make This Cute Little Chick
1. Shape the Chick’s Body
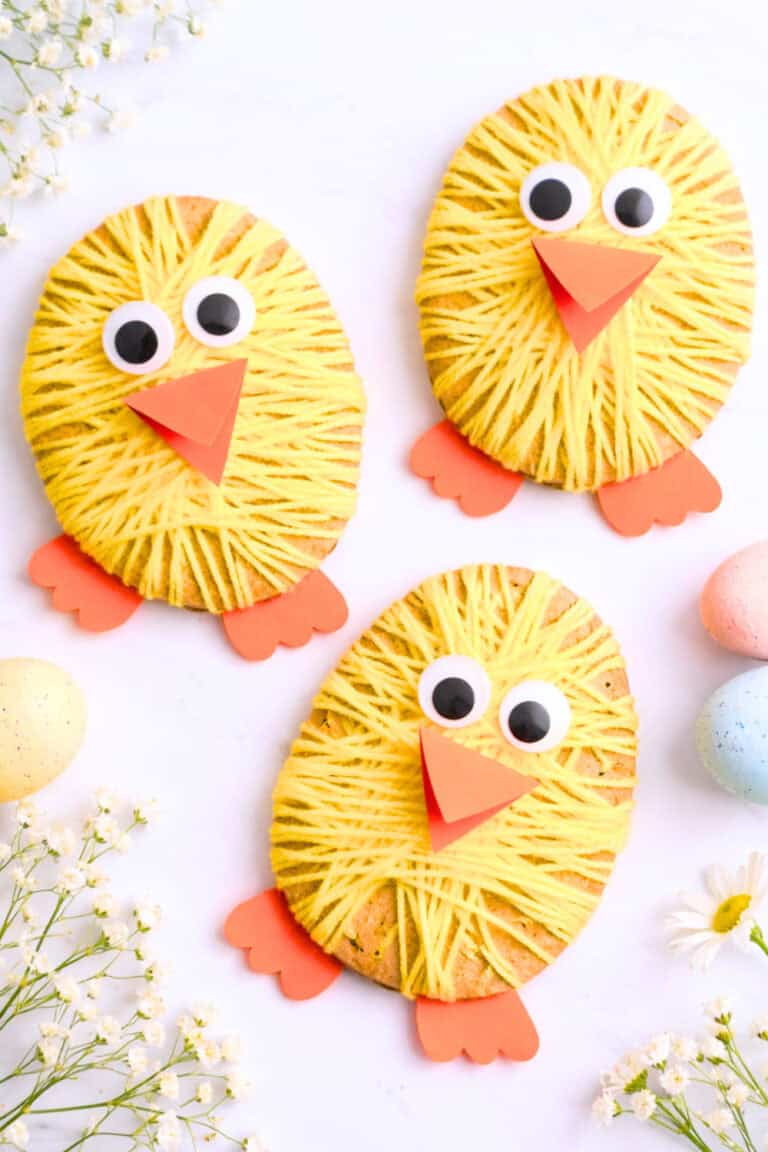
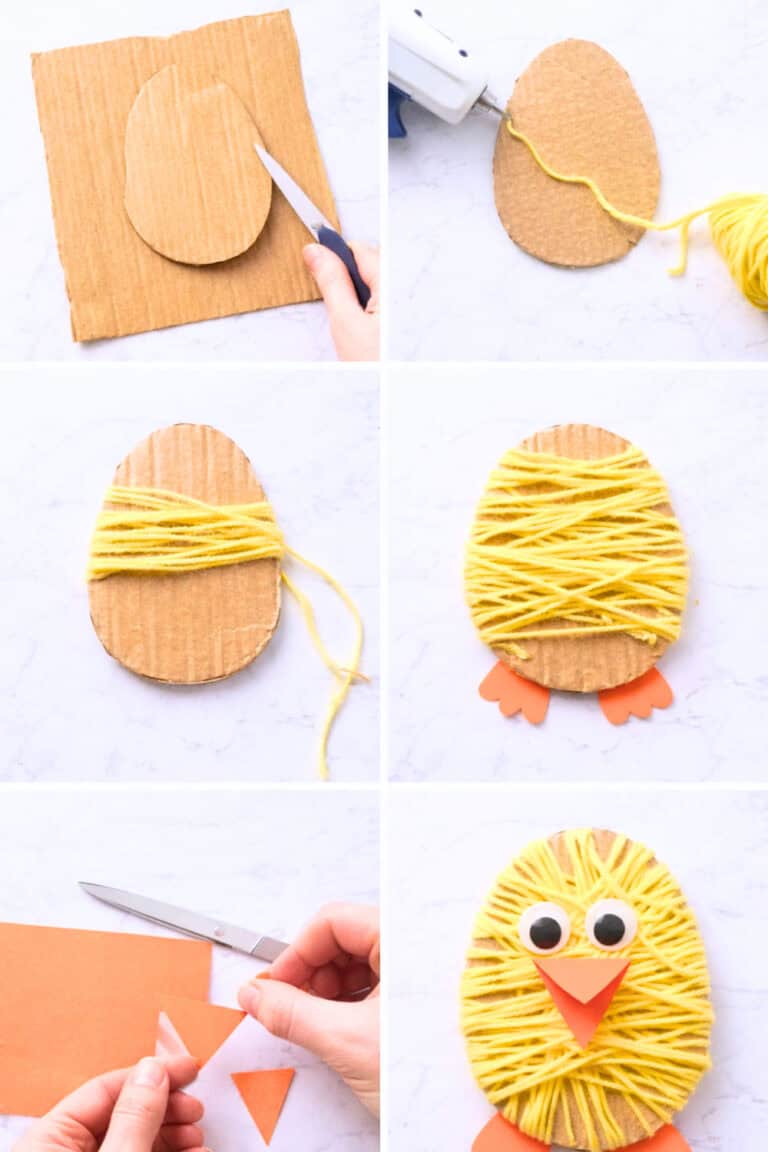
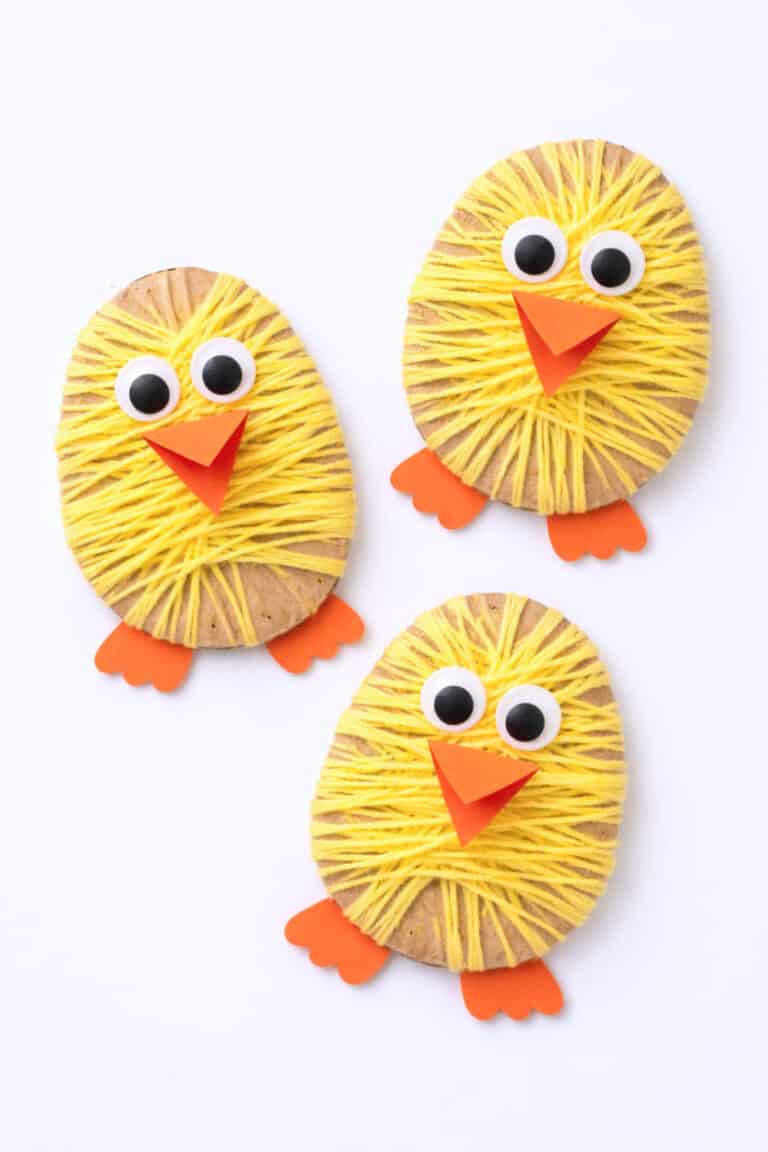
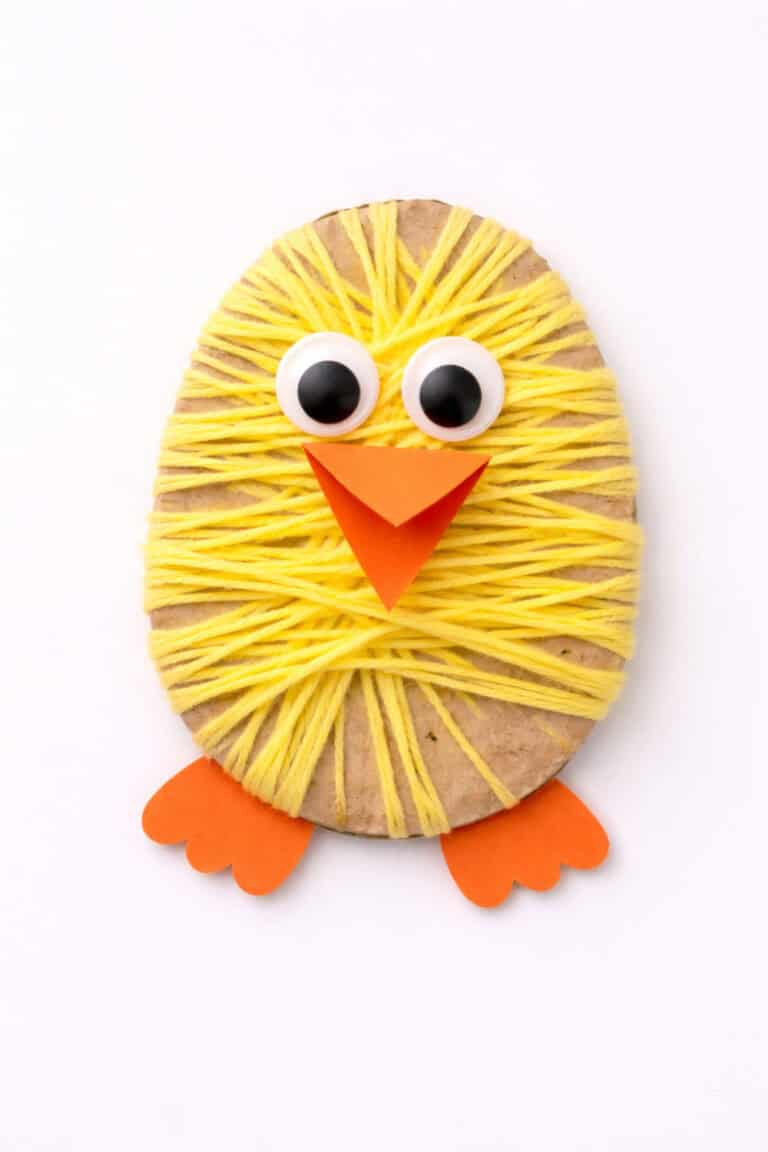
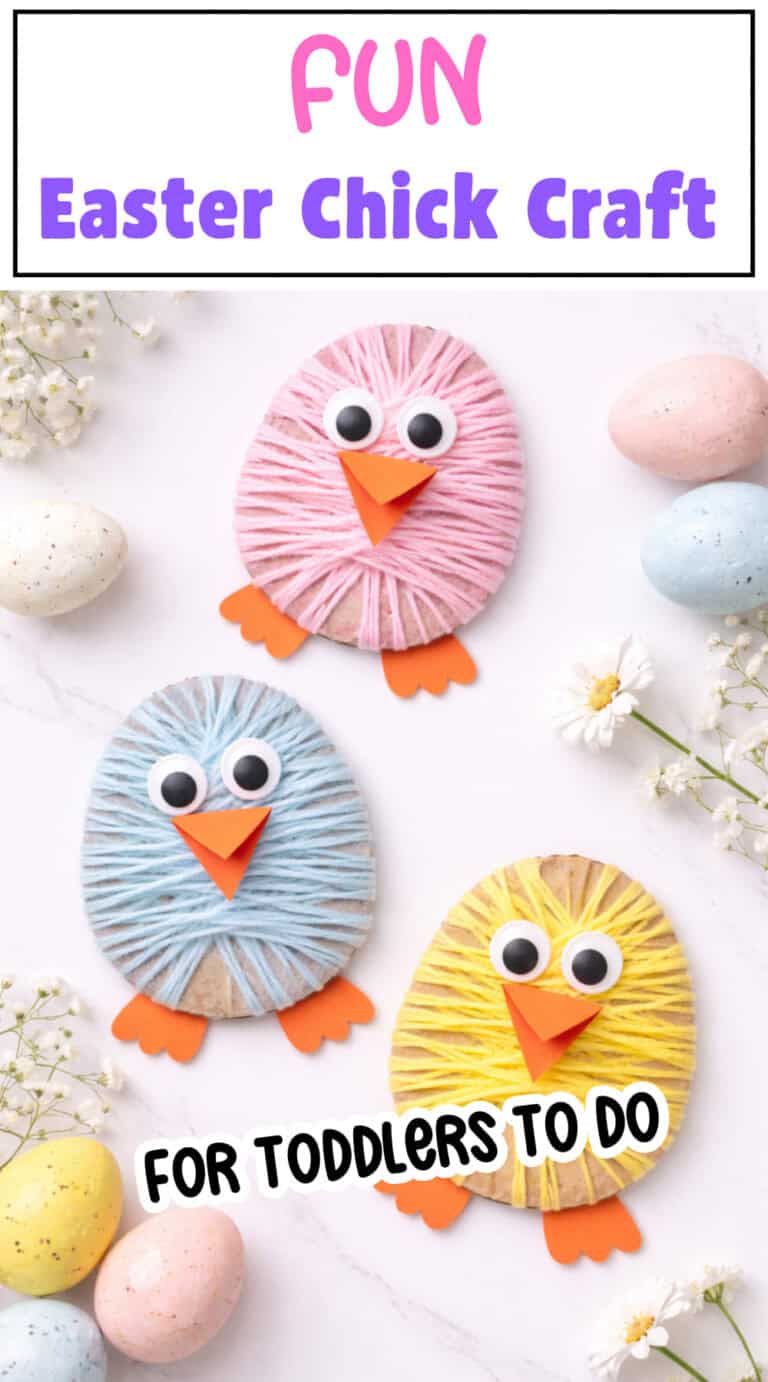
Start by grabbing your piece of cardboard and cutting out a chunky oval or egg shape. This will be the base for your chick.
I handed my older kid a pencil and let her sketch her own outline first, then I trimmed it so it looked more “chick-like.”
The younger two were mostly cheering… and trying to steal the scissors, so supervision is definitely a thing here.
2. Time to Wrap the Yarn
Now for the part my kids went absolutely wild over. Flip your cardboard shape over and glue the end of your yellow yarn to the back so it doesn’t slip around.
Once it’s secure, start wrapping the yarn all the way around the cardboard.
Go in every direction you can think of—sideways, across, diagonally—just keep circling until the whole shape is covered in bright, fluffy yellow yarn.
This step kept my kids quiet and focused because it feels kind of like making a cozy sweater for your chick.
Even I got into it for a minute because it’s strangely relaxing.
3. Create the Beak
Now grab that orange cardstock and cut out a tiny diamond shape.
Fold it in half so it pops out a bit like a real beak.
Once it’s ready, glue it right onto the front of your yarn-covered chick. My kids kept holding it up and saying “cheep cheep,” so clearly this part is a hit.
4. Give Your Chick Some Feet
Using the same orange paper, snip out two small little feet. You can make them simple—just rounded shapes or a few little “claw” lines if you’re feeling extra crafty.
Glue the feet to the lower back side of your chick so they peek out at the bottom. One of my toddlers insisted on making “super long chicken legs,” so honestly, have fun with it.
5. Add the Googly Eyes
Time for the cutest step. Grab two googly eyes and glue them above the beak.
As soon as those eyes go on, the whole thing suddenly has this adorable little personality.
My kids kept holding theirs up and giving them names because once a craft has eyes, it becomes a whole character in our house.
Quick Tips You Might Need
You can totally use regular white glue if that’s what you have on hand, but just know the yarn slips around a lot more.
Hot glue keeps everything in place faster, so you’re not standing there holding yarn forever while your toddler asks for snacks again.
Just keep the glue gun safely in your hands only, because little fingers and hot glue are not a cute combo.
Using sturdy cardboard makes a huge difference.
Thin cereal-box cardboard bends the second your kid grabs it, so I grabbed a piece from an old shipping box and it stayed nice and firm the whole time. Total win.
And here’s my favorite part. Let your kids name their chicks when they’re done.
It turns into a whole moment. Mine came up with “Fluffernutter,” which is now apparently living on our fridge like it pays rent.
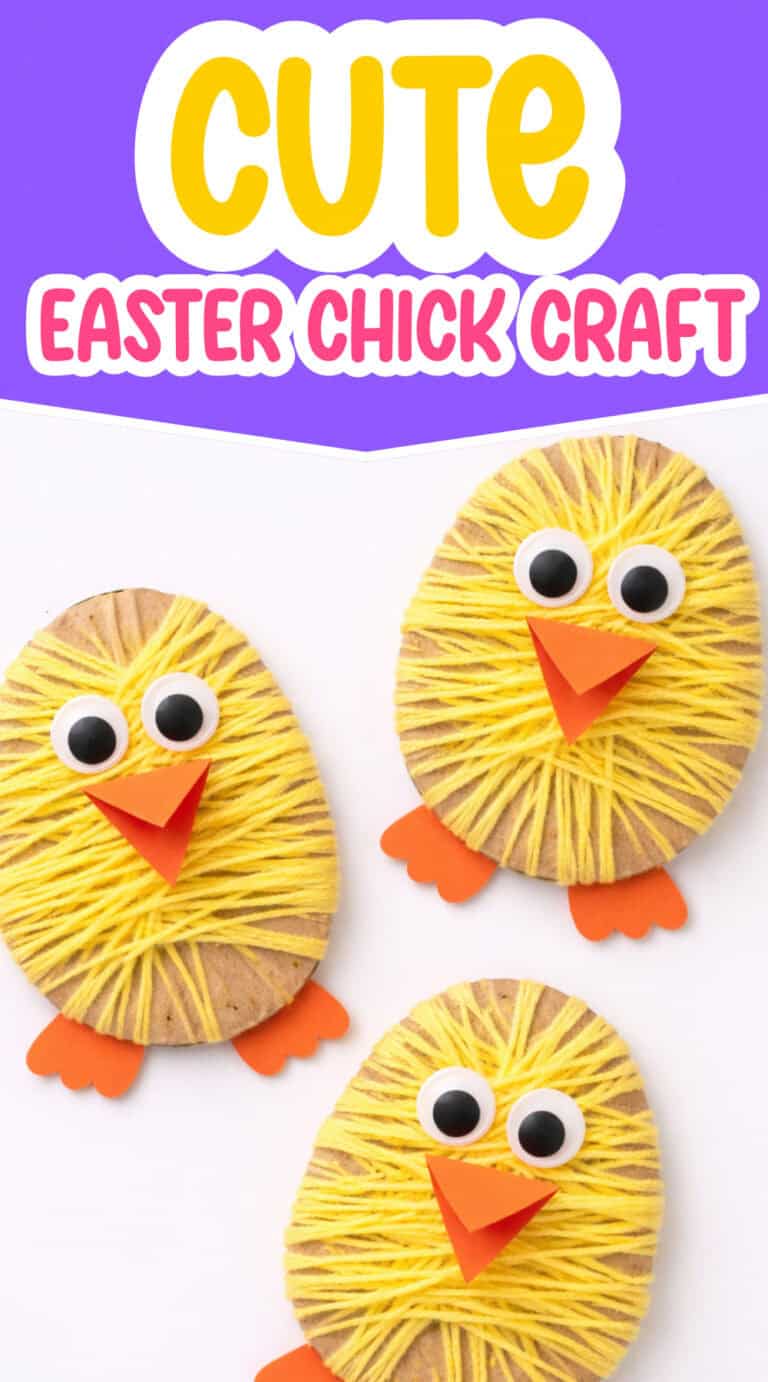
Easter Chick Craft for You
Seriously, this is one of those Easter crafts that’s cute enough to display on your mantel and totally doable even if you’re juggling three kiddos, snacks, and that one kid who keeps asking for juice.
If you need more ideas, check out my Easter bunny crafts your toddler will love.

Leave a Reply